1
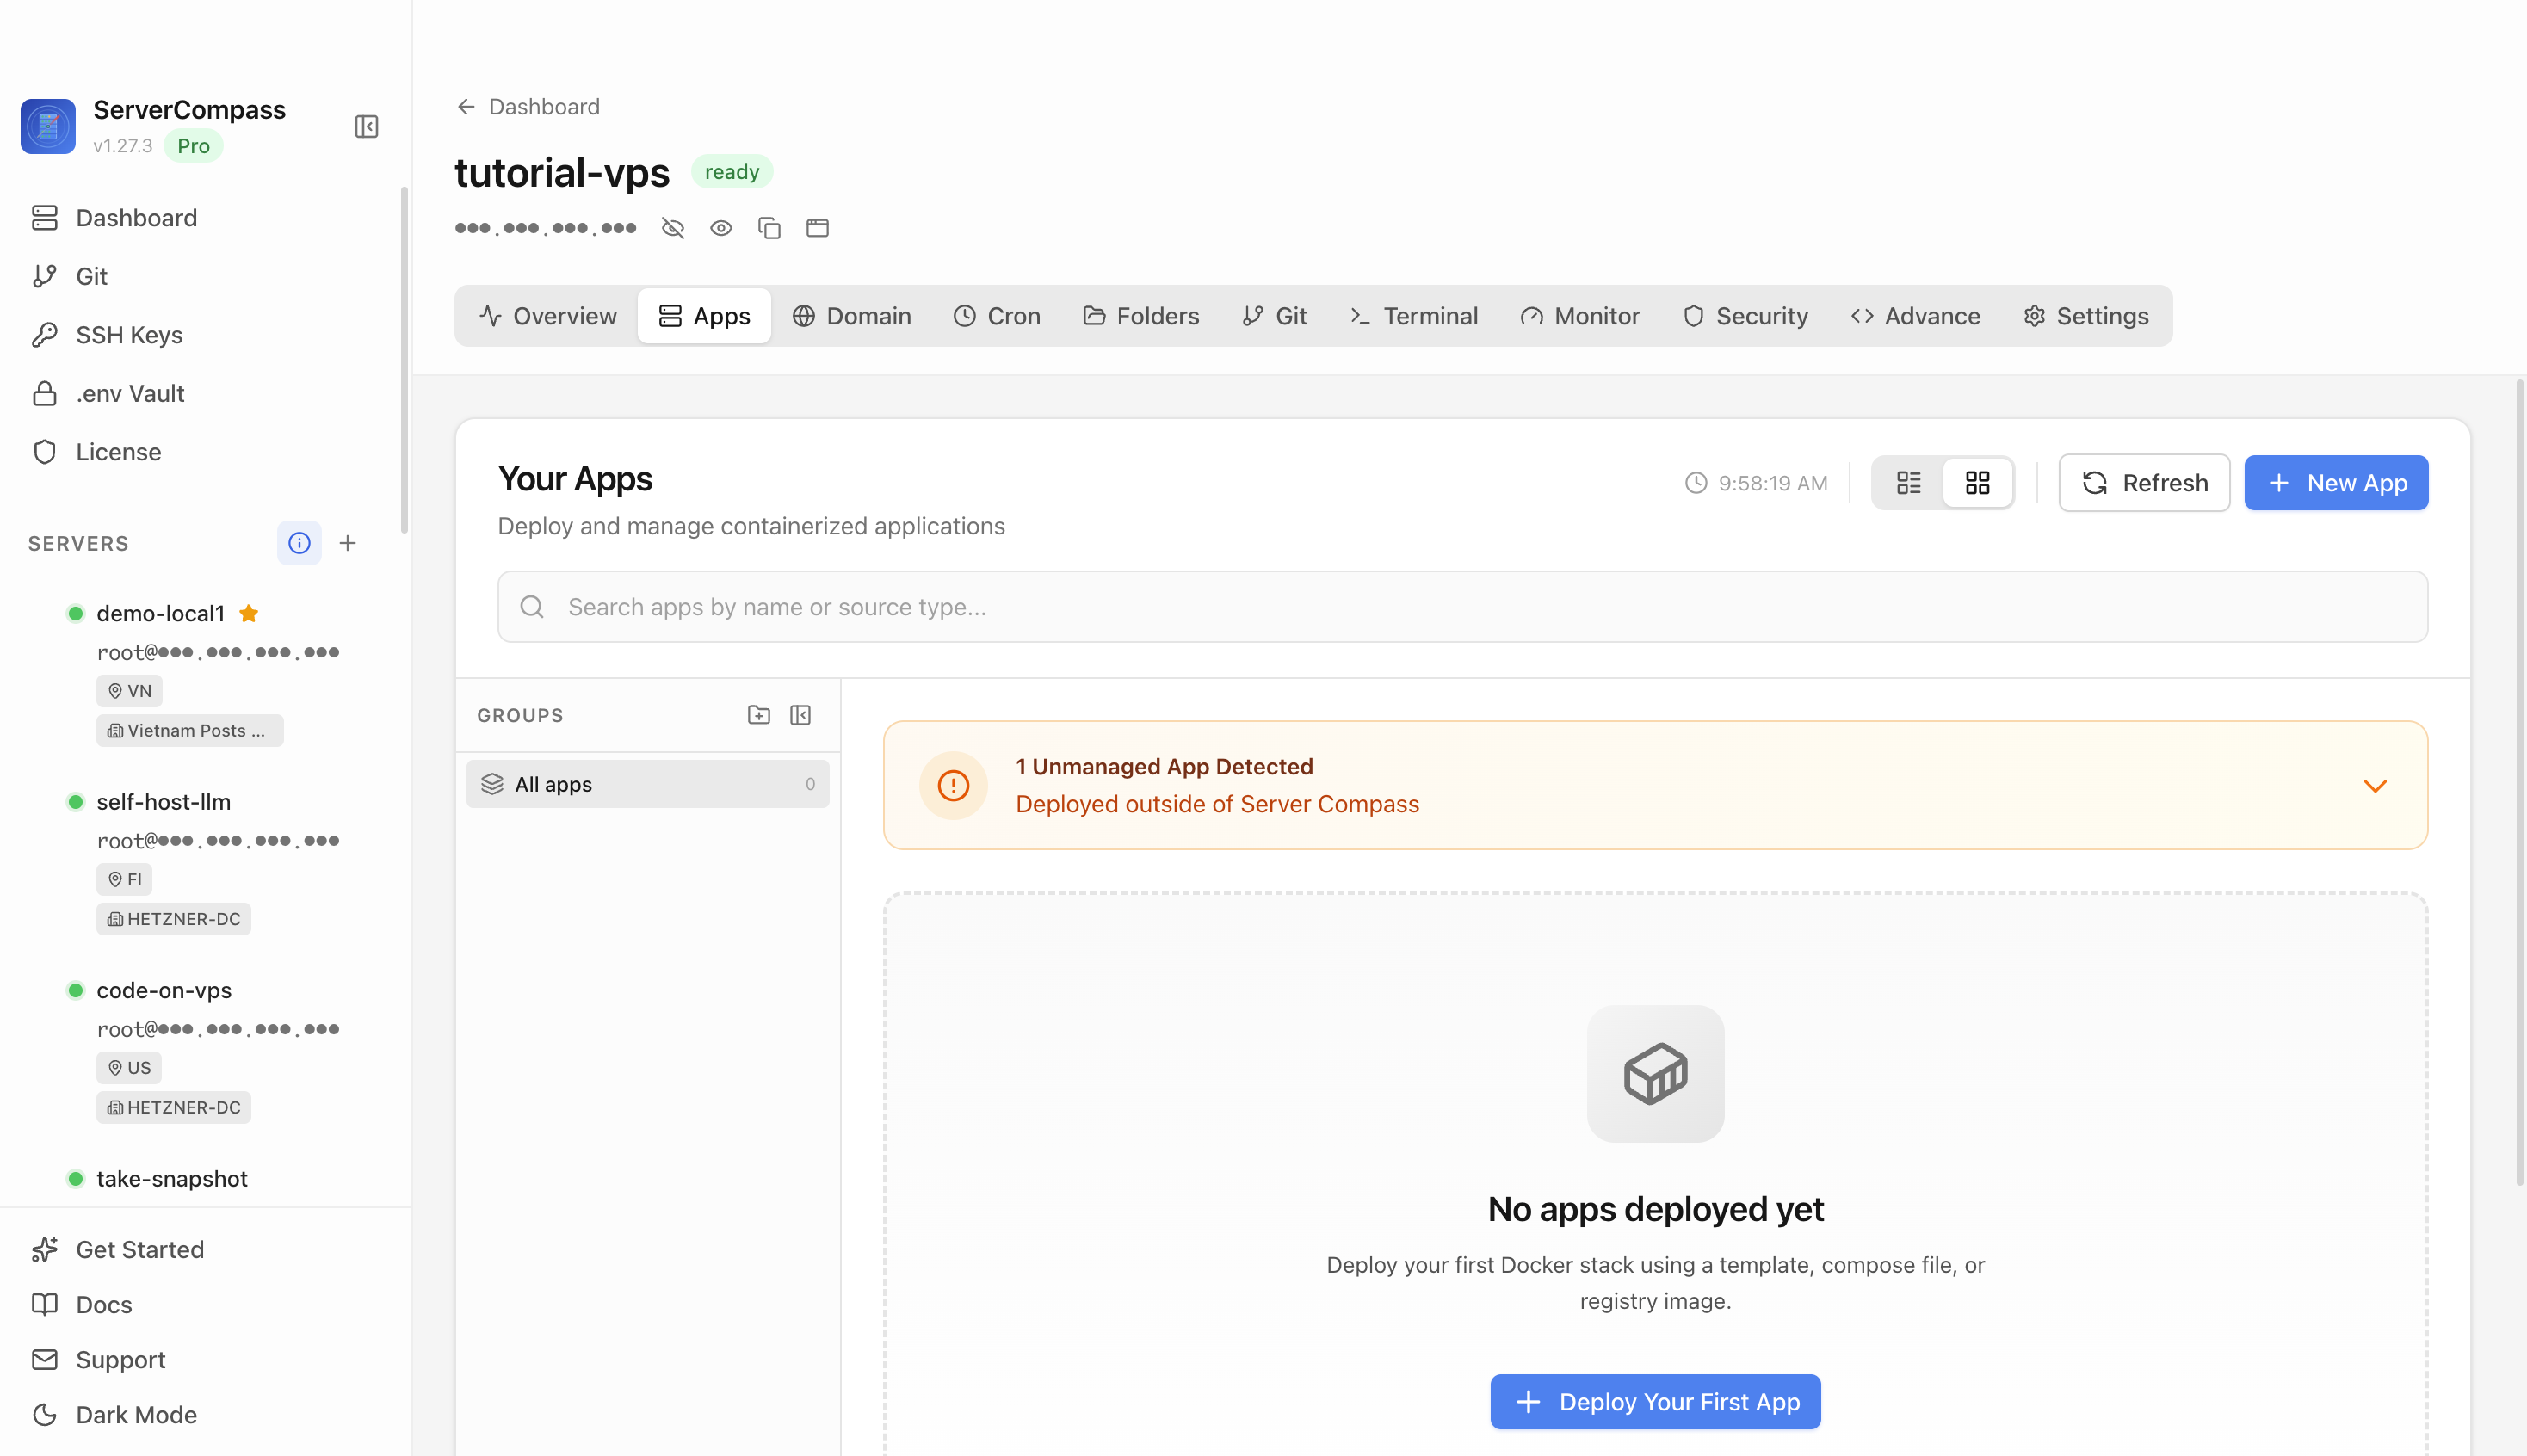
Step 1Open the server Apps tab
Select the tutorial-vps VPS, open the Apps tab, and start a new app deployment. Keep sensitive server details hidden before capturing or sharing screenshots.

Open-source backend-as-a-service - self-hosted Firebase alternative
Add your server credentials to Server Compass
Choose from our template library
Fill in settings and click Deploy
Use the Appwrite template in Server Compass to start the official self-hosted Appwrite installer on your VPS, then verify the installer wizard in a browser.
Select the tutorial-vps VPS, open the Apps tab, and start a new app deployment. Keep sensitive server details hidden before capturing or sharing screenshots.
Click New App and choose the template deployment path so Server Compass can load the built-in catalog.
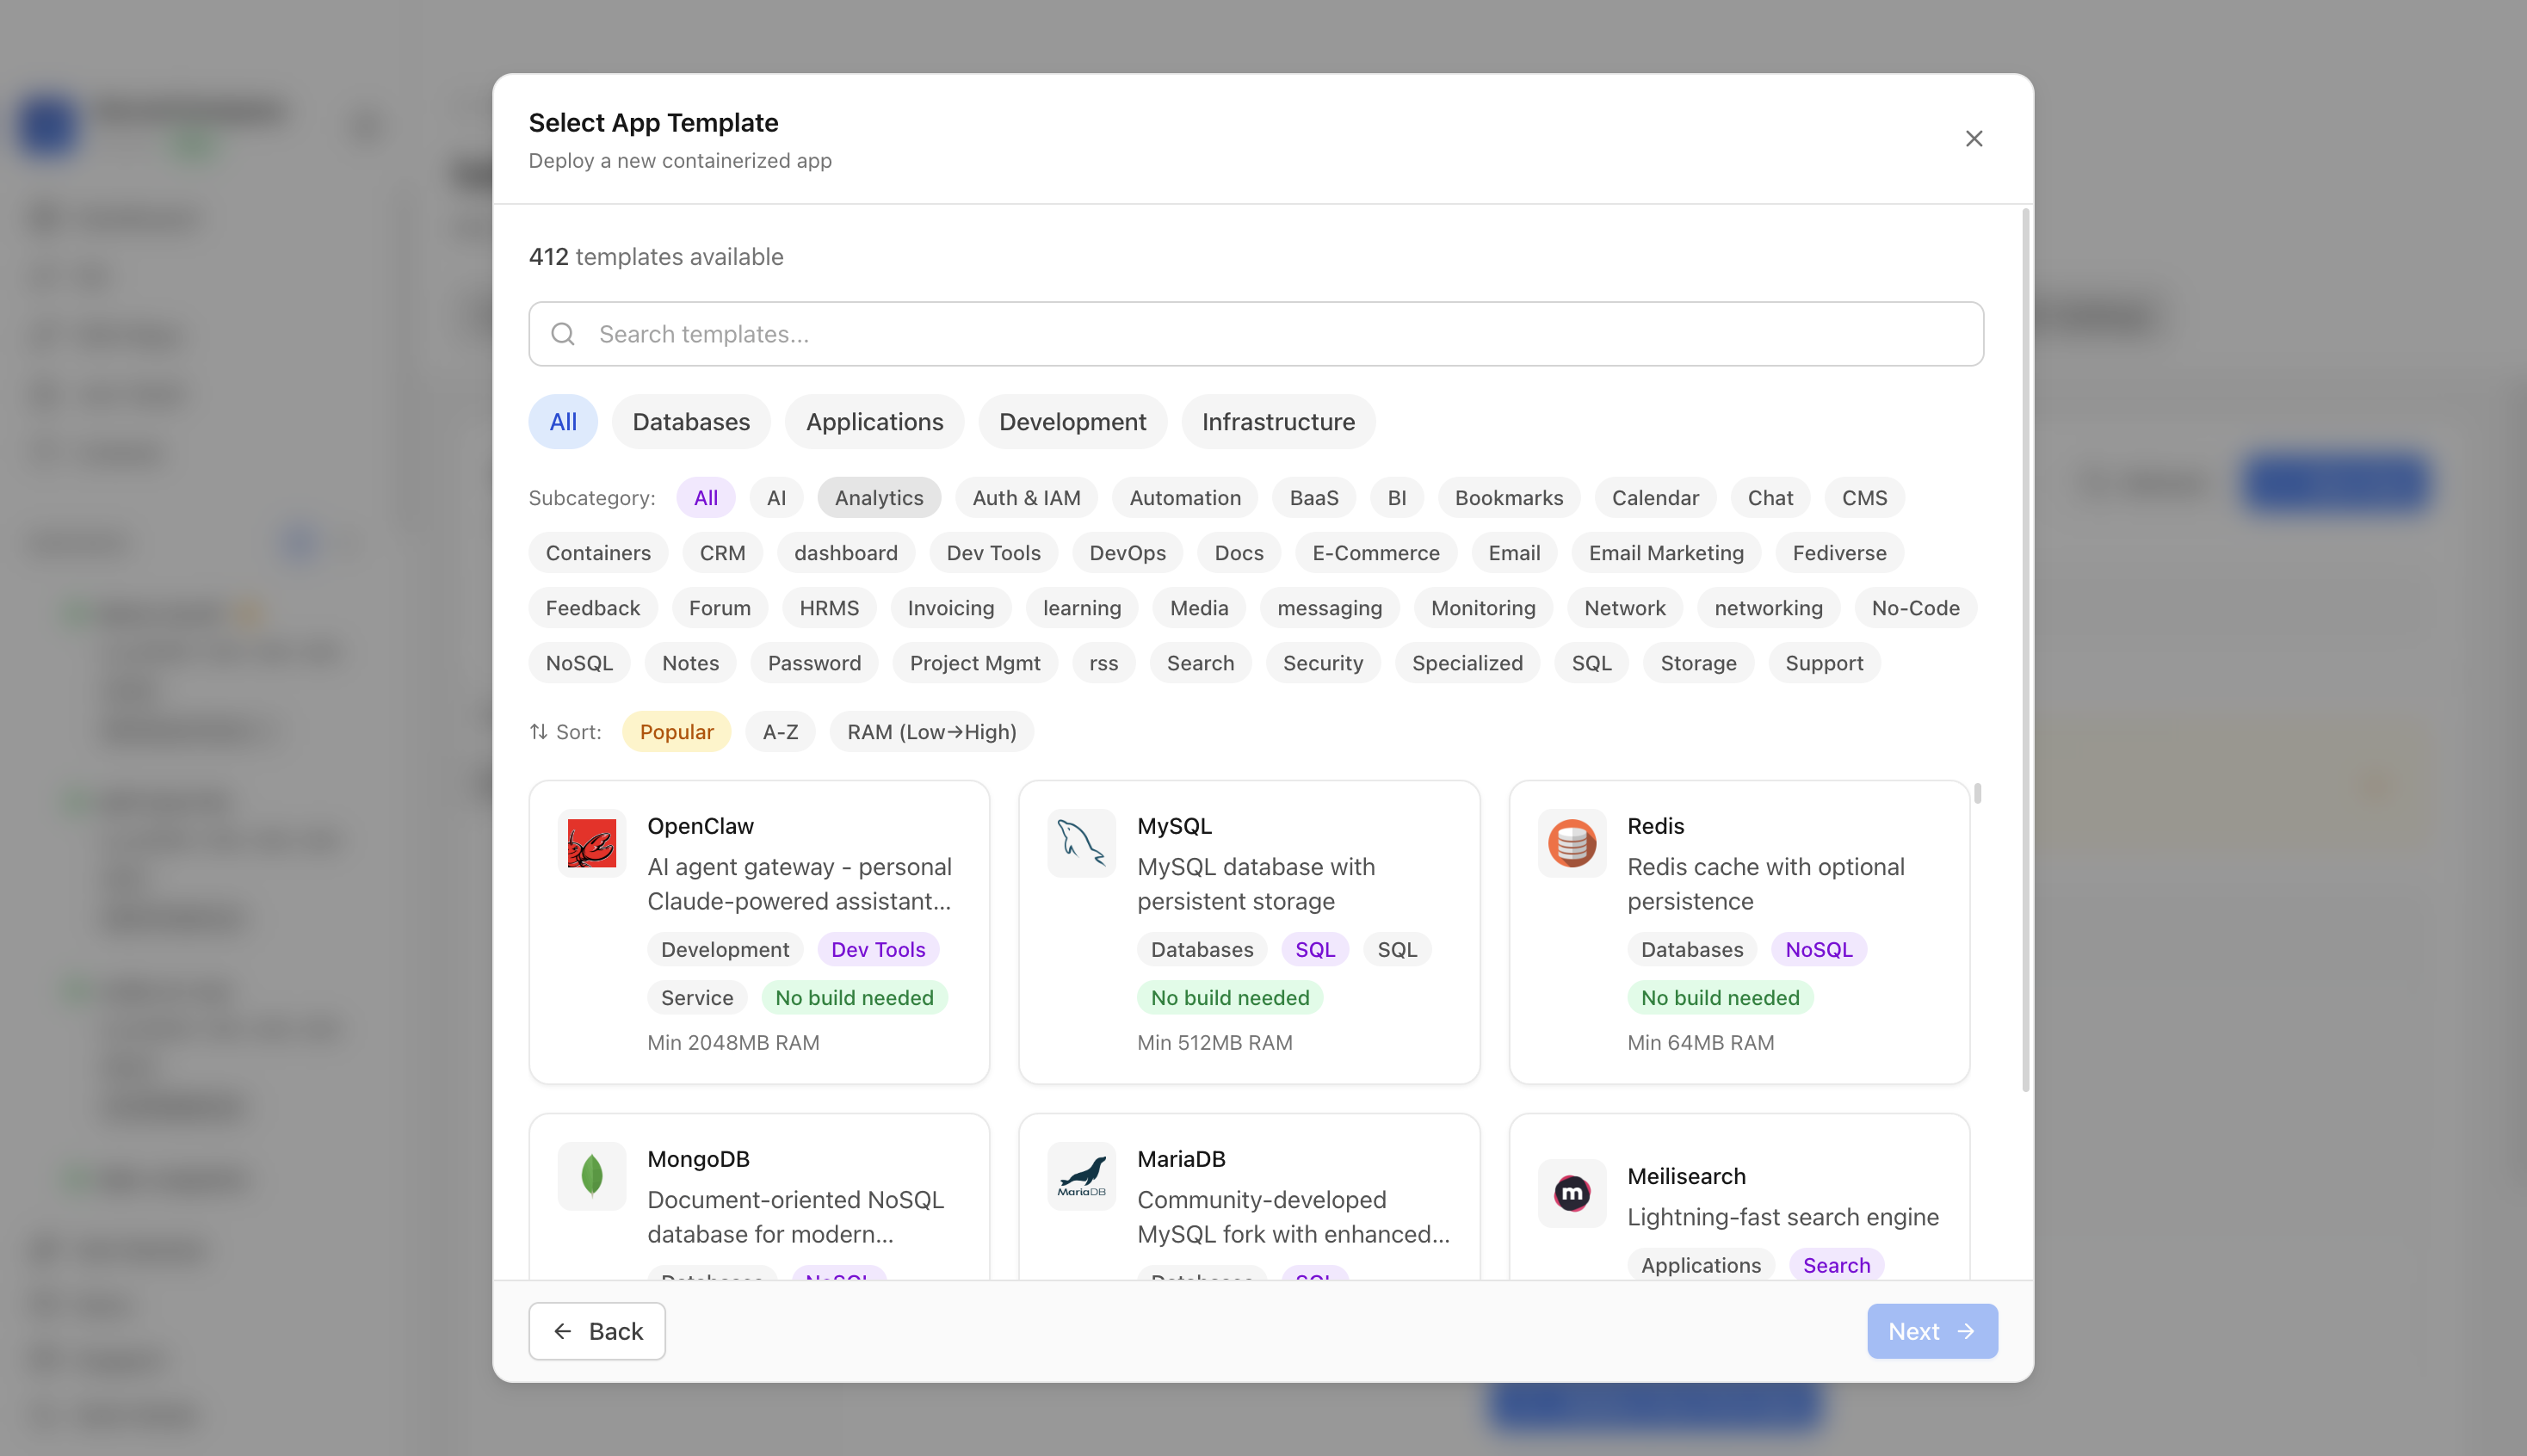
Use the template picker search to find Appwrite in the Server Compass template catalog.
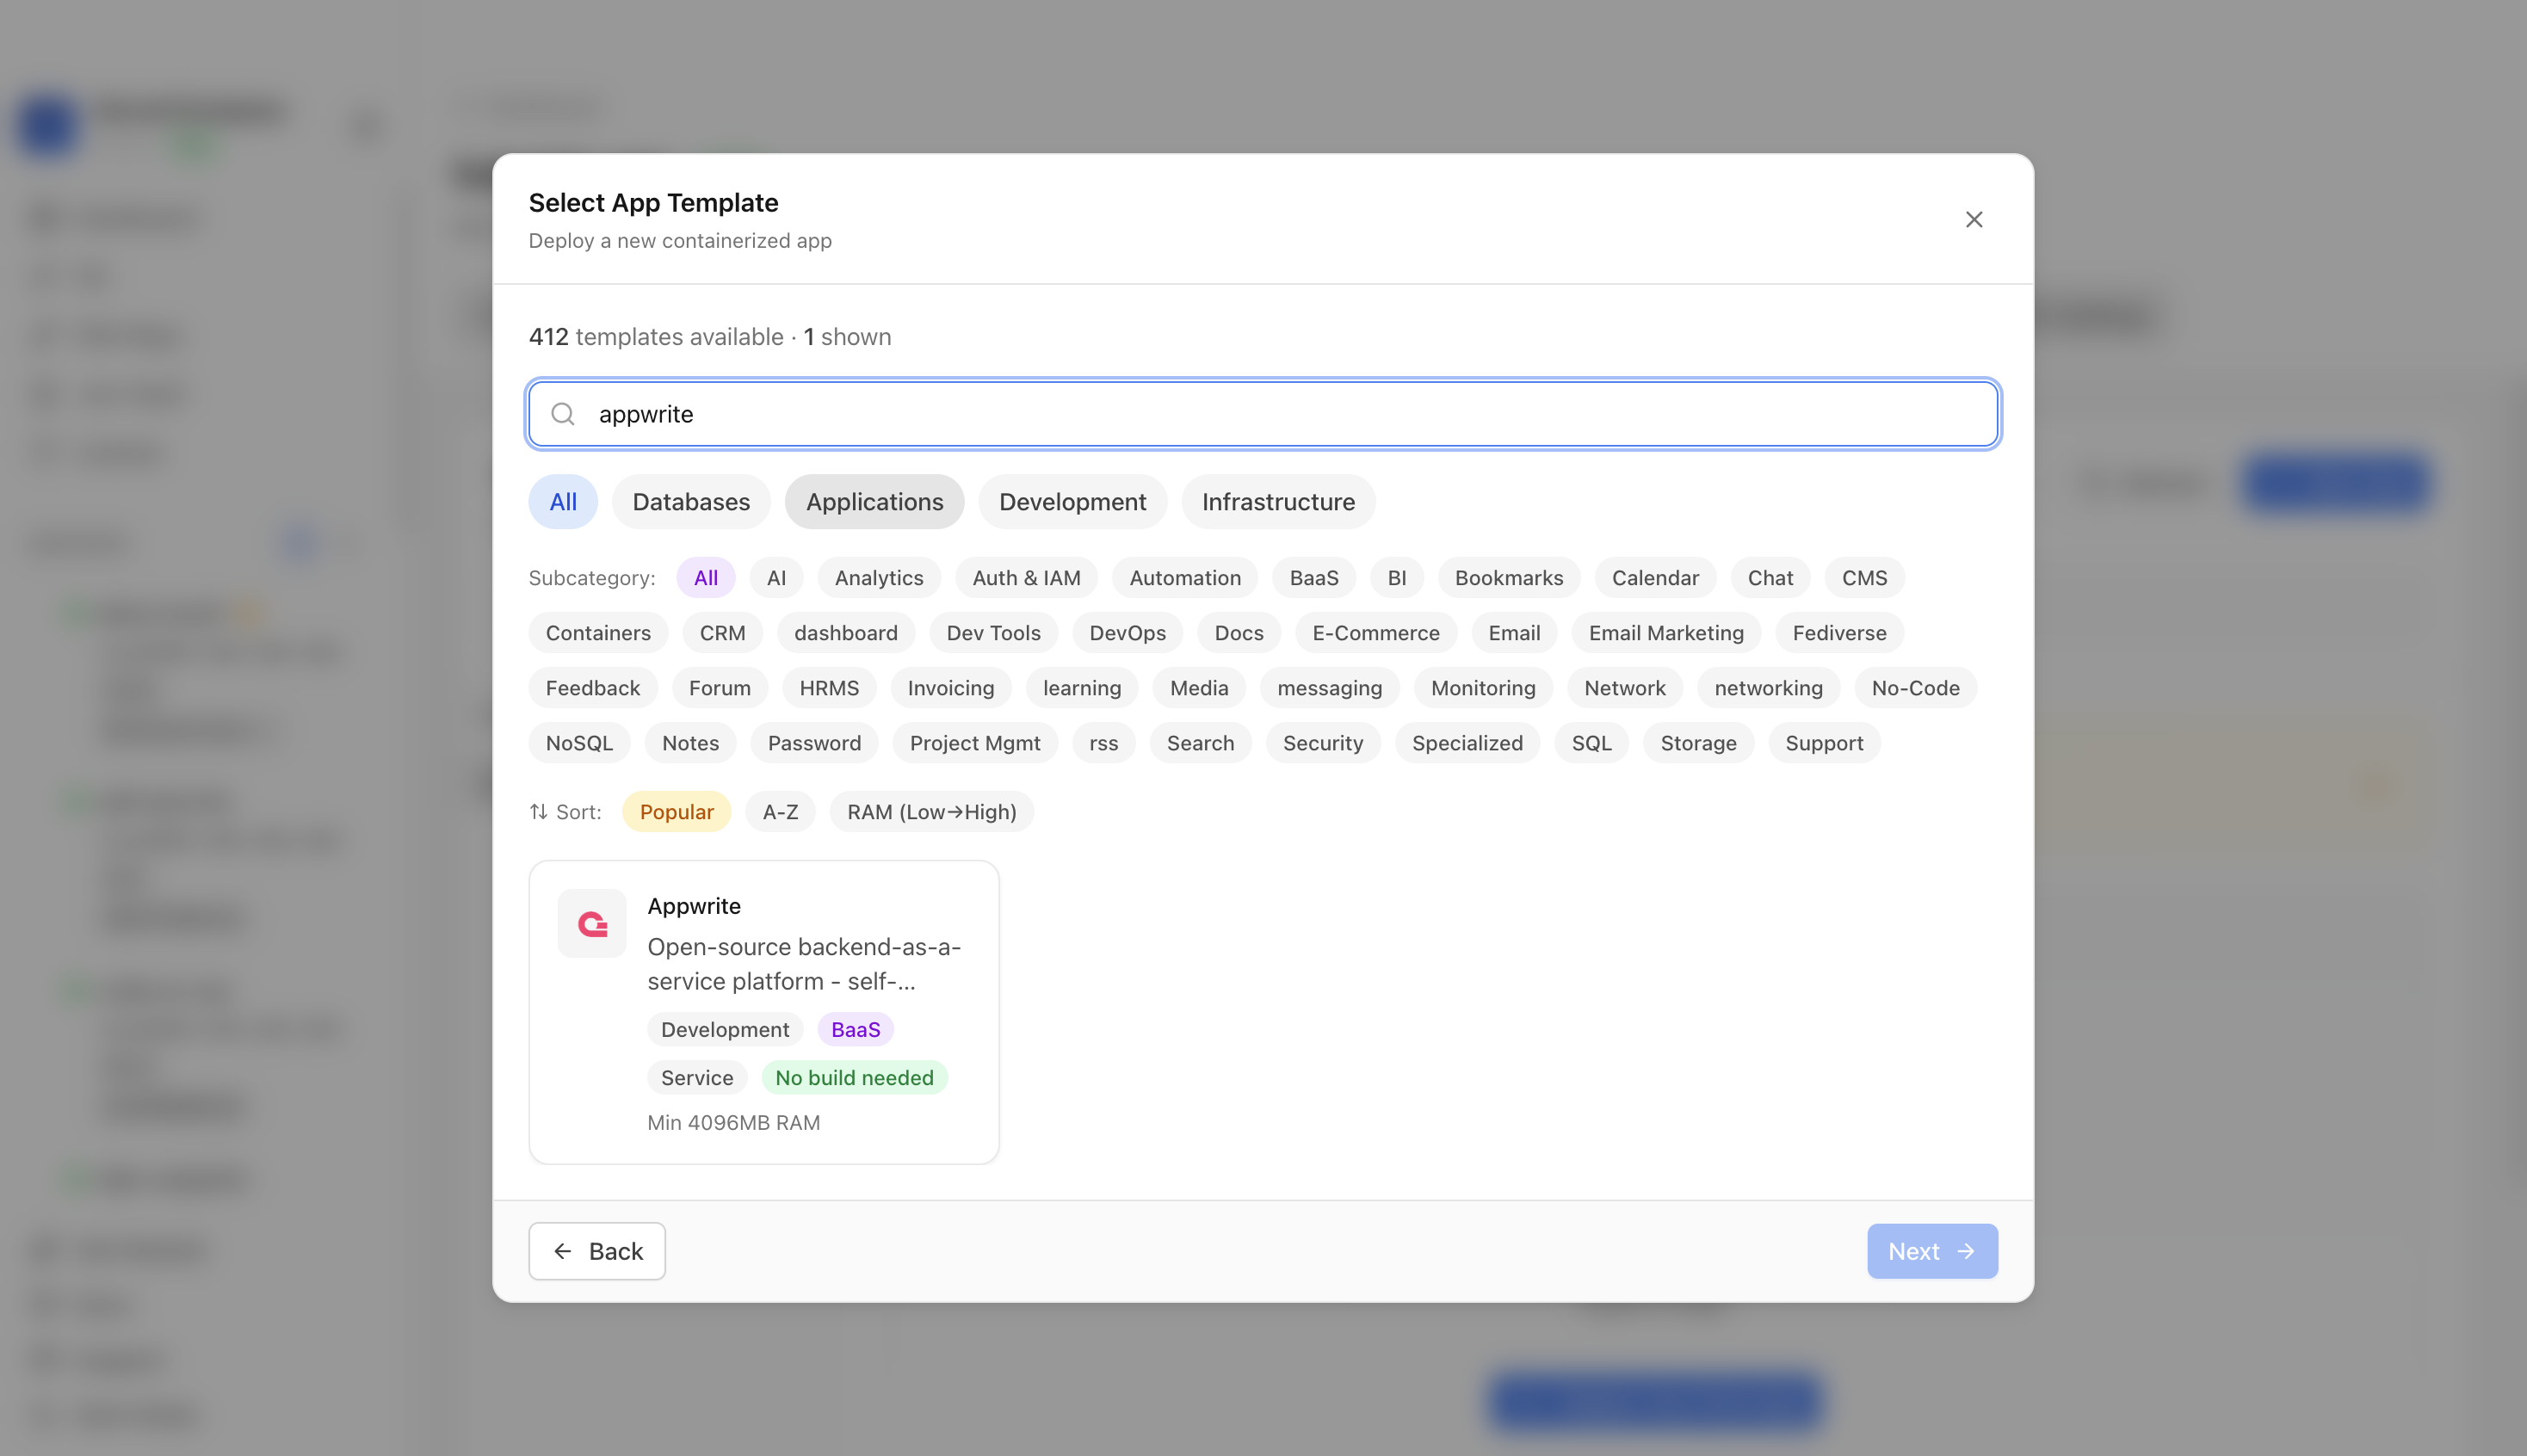
Choose the Appwrite template. Server Compass fills the official Appwrite installer service, Docker socket mount, persistent install directory, and installer web port.
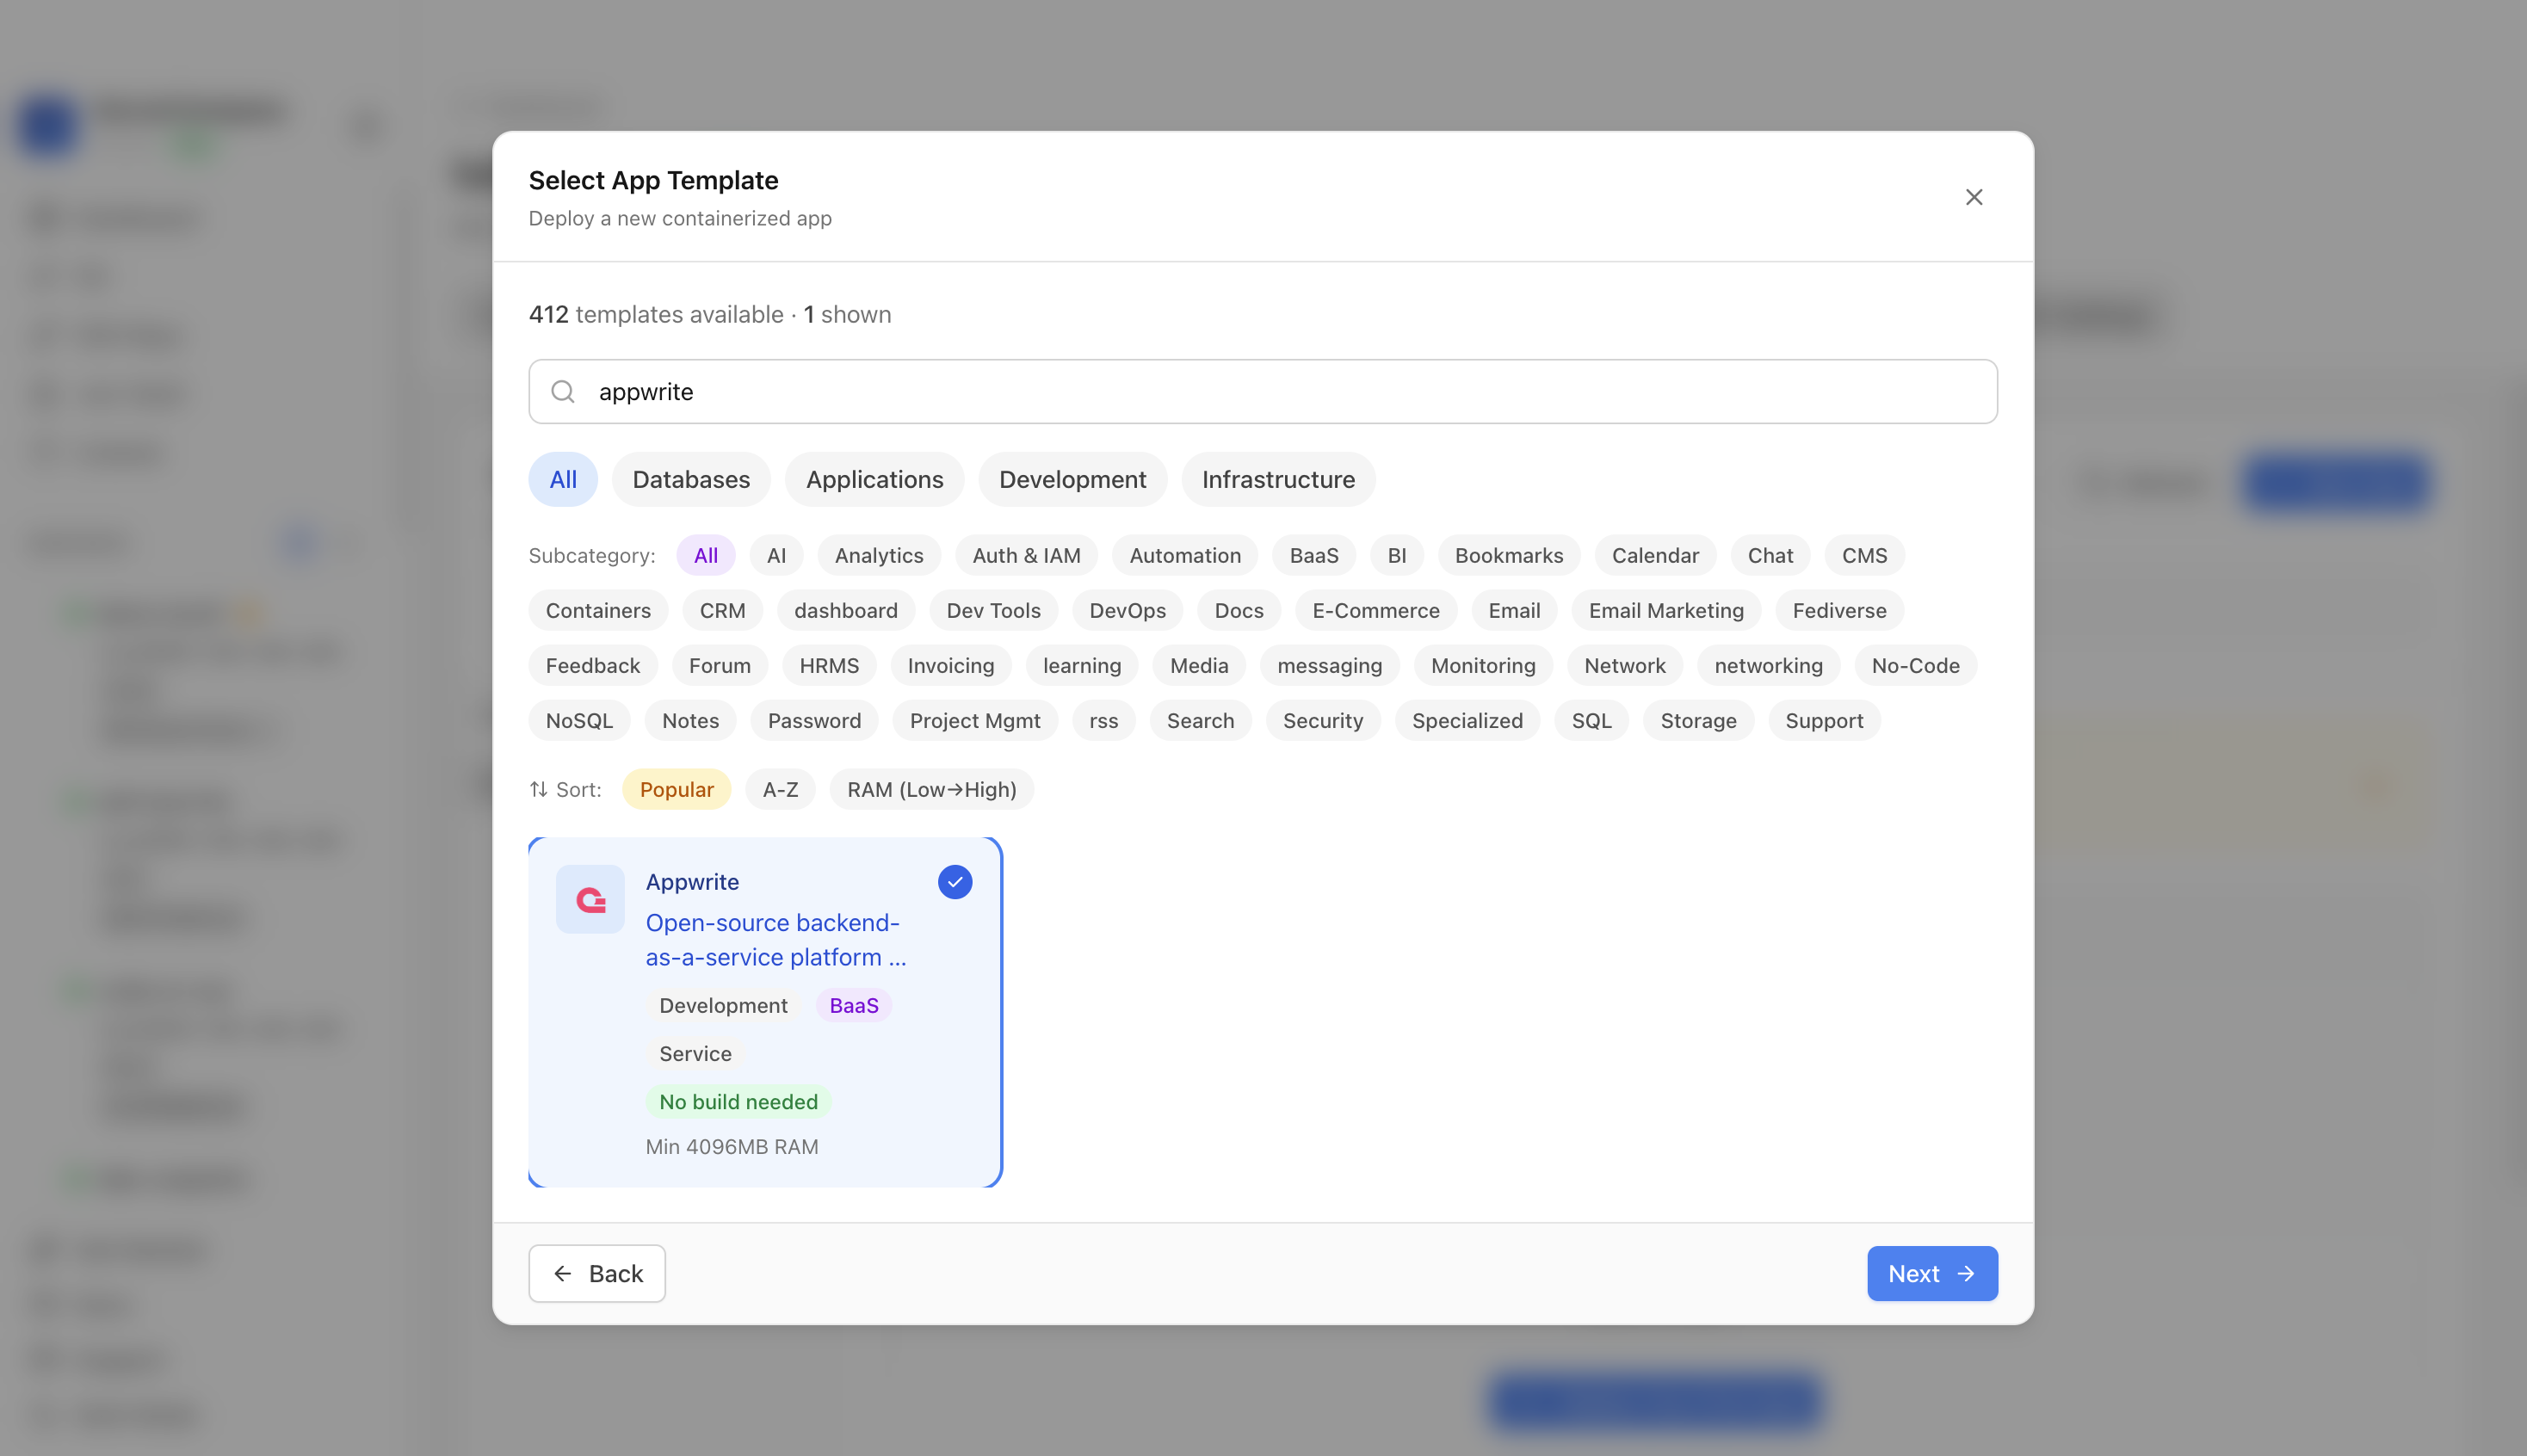
Confirm the app name and compose services. In this run, the app was named appwrite-demo and used host port 20080.
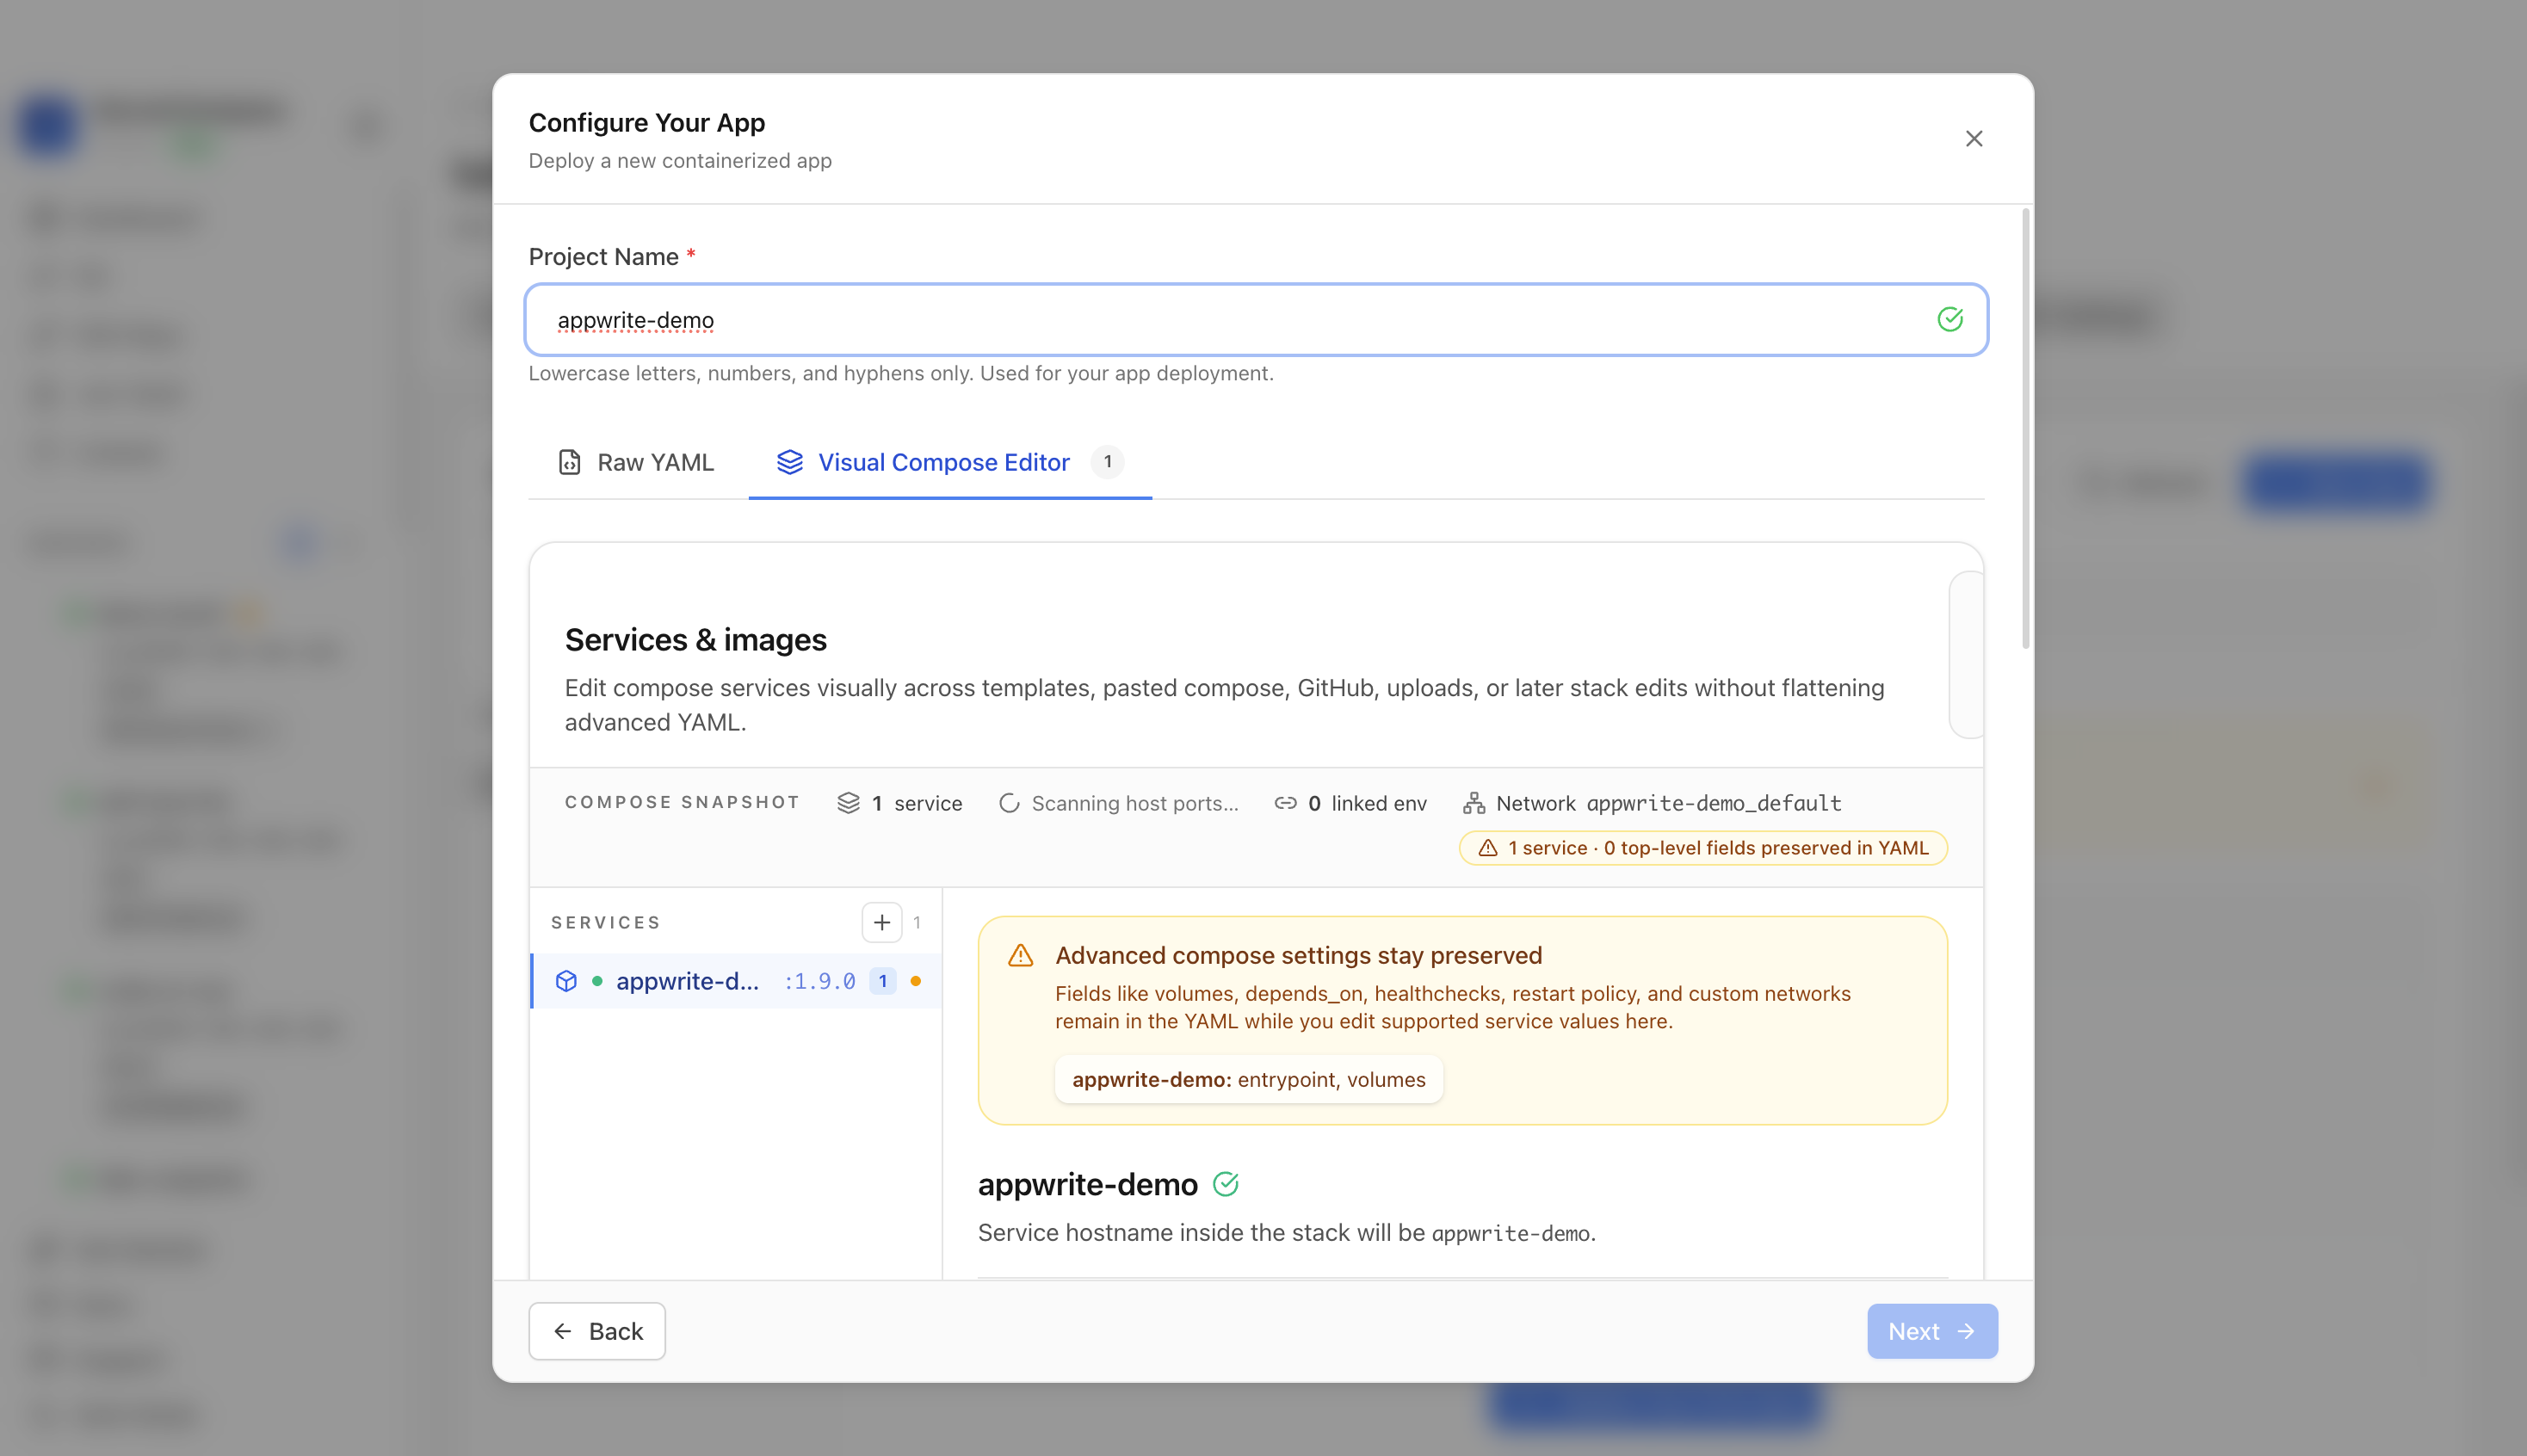
Review the generated compose settings, confirm the installer web port is available, and click Deploy Now.
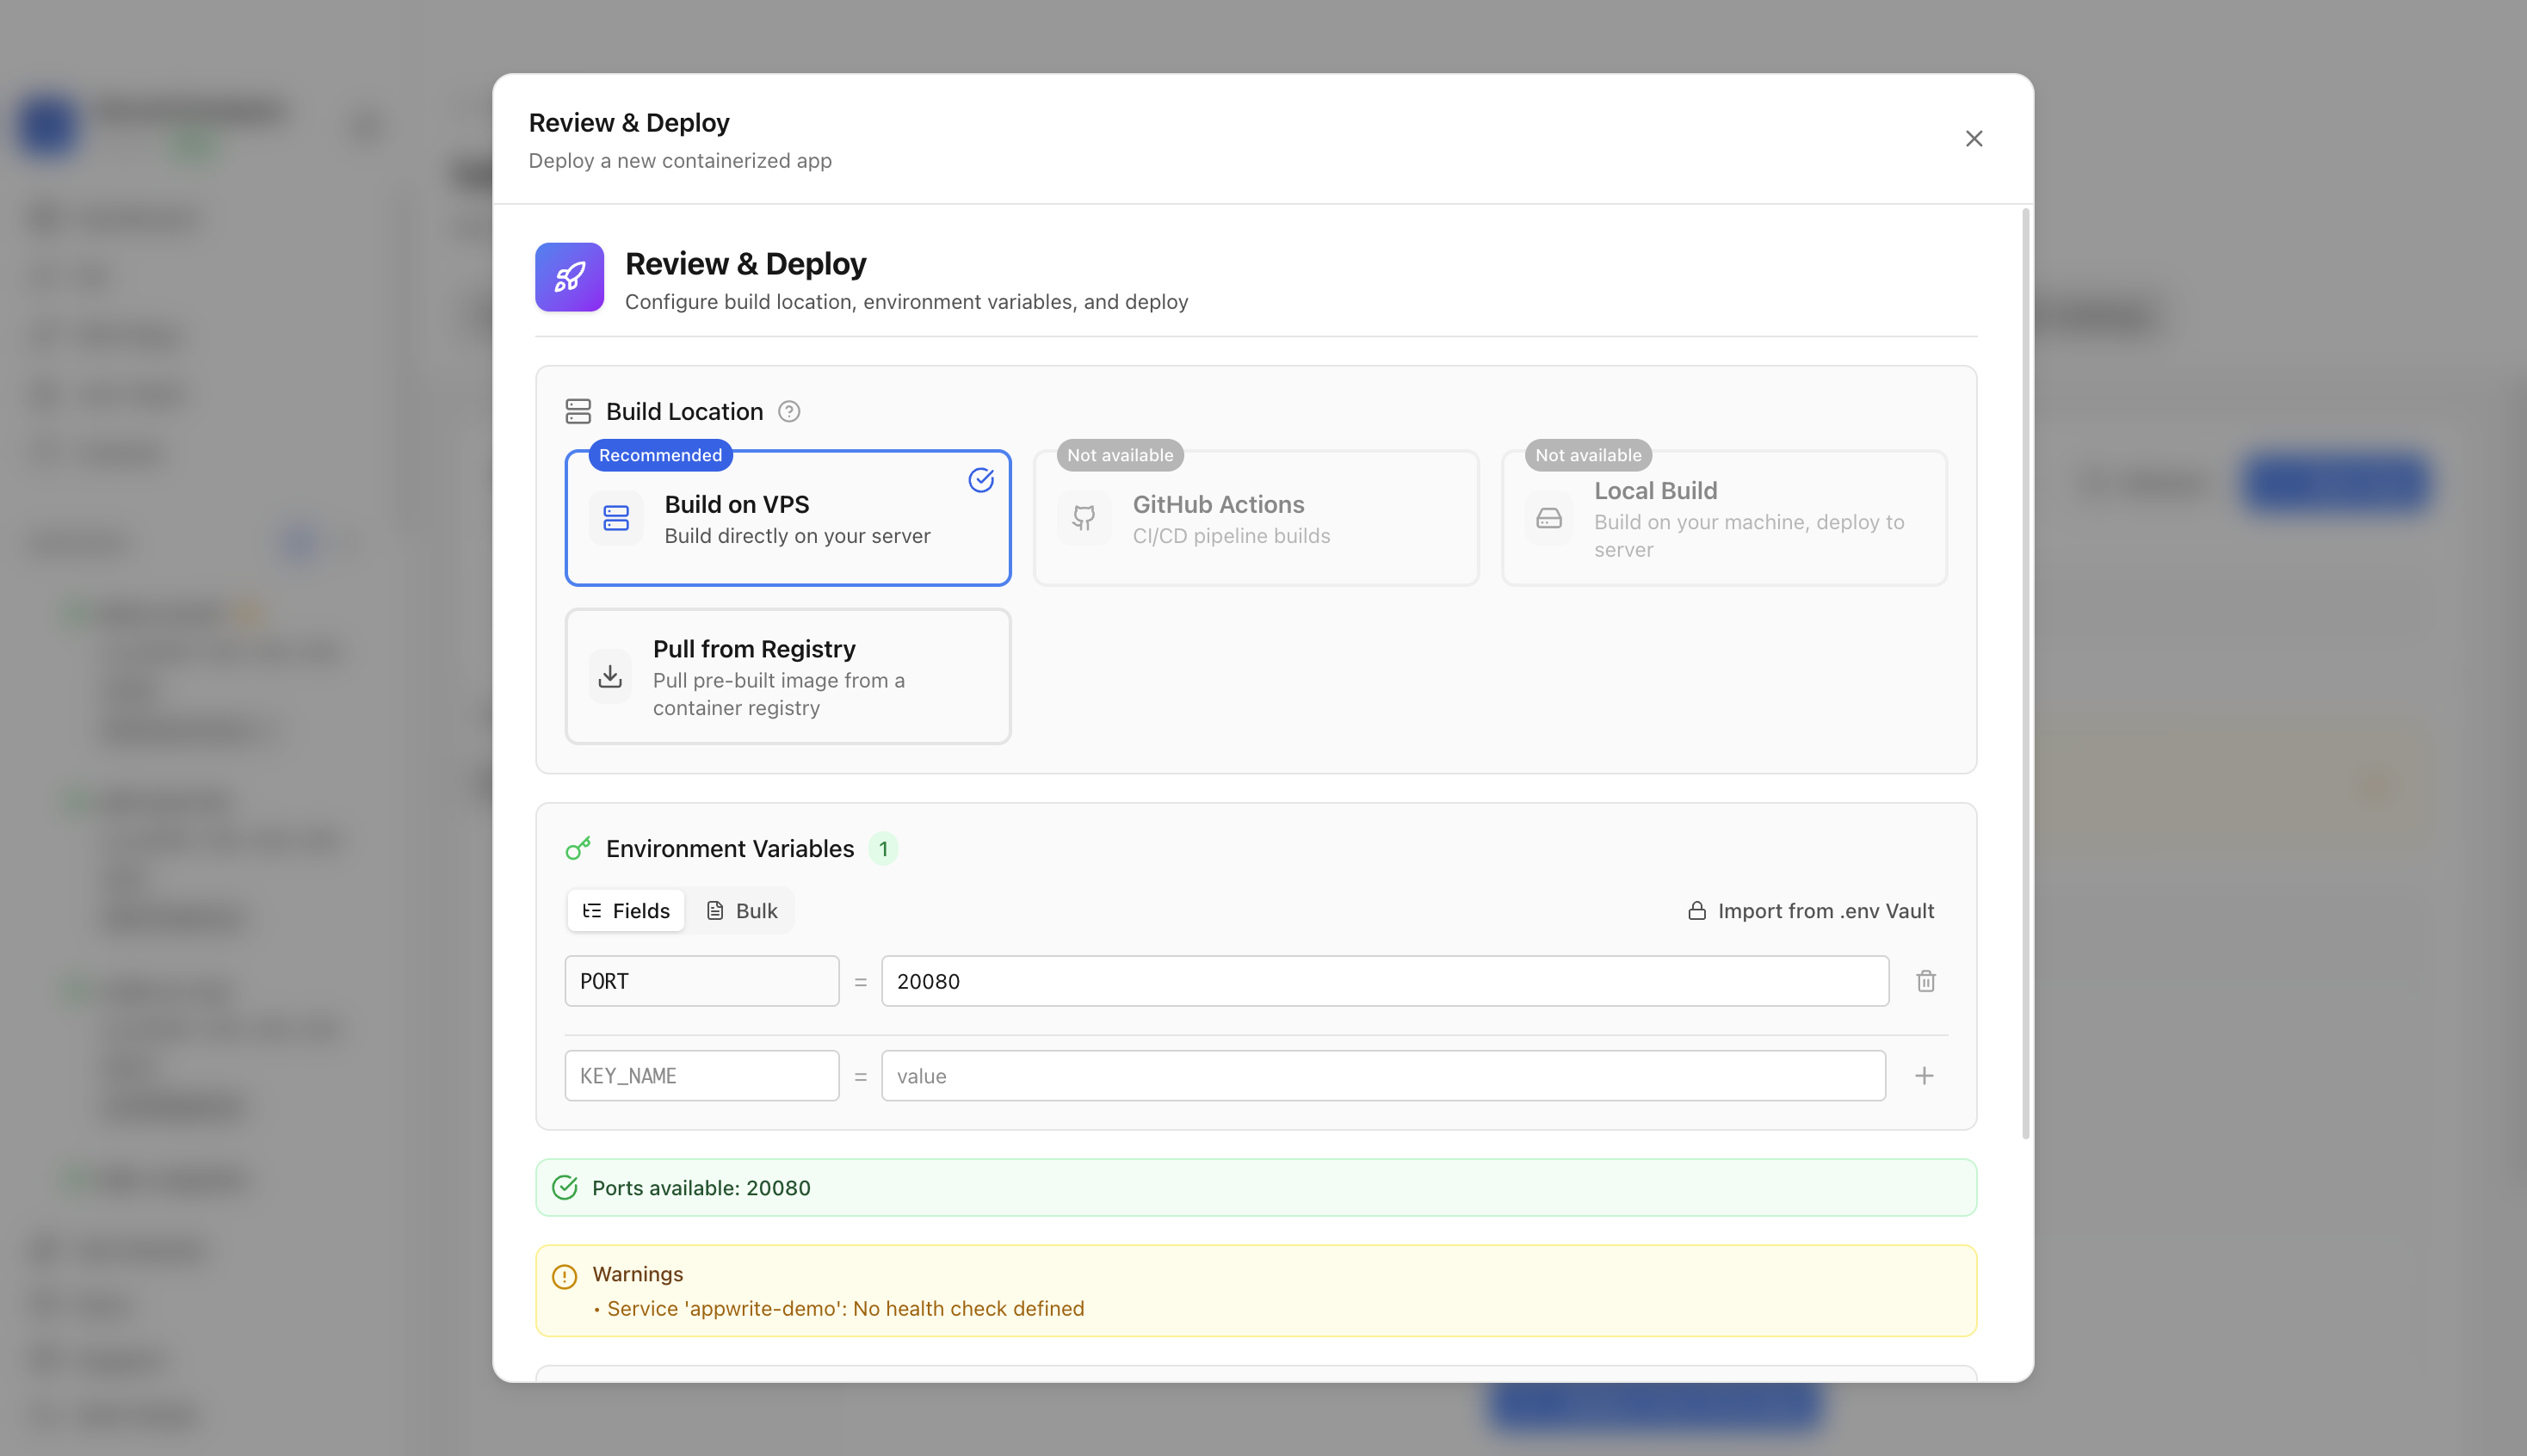
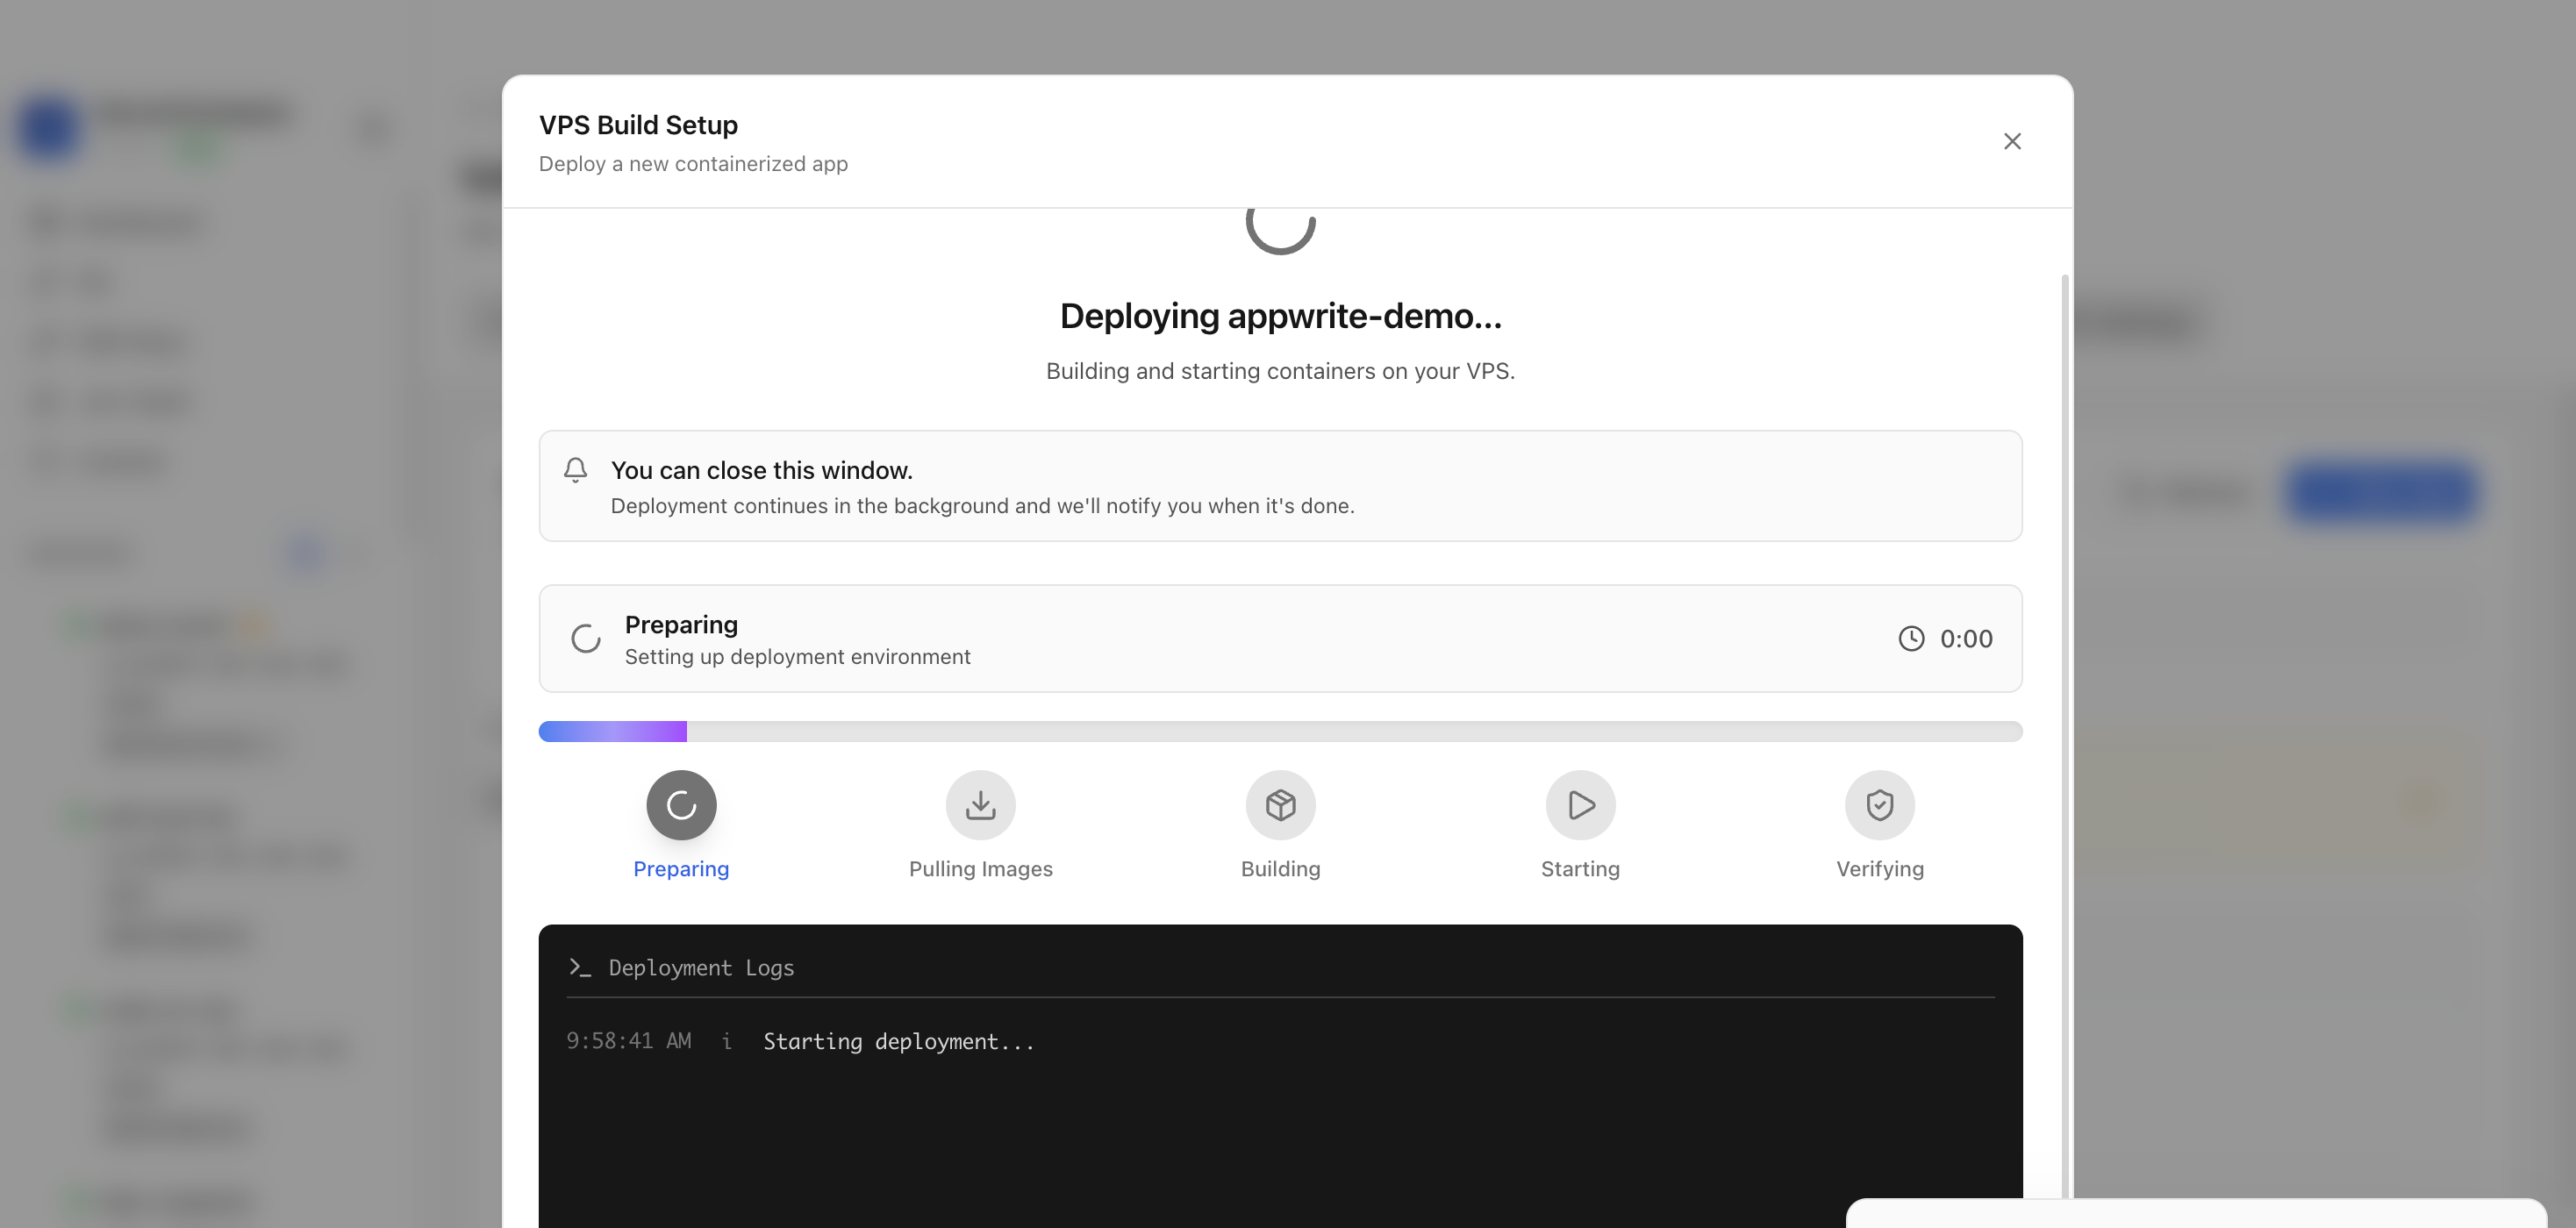
Keep the deployment modal open while Server Compass uploads the compose file, pulls the Appwrite image, starts the installer container, and verifies the stack.
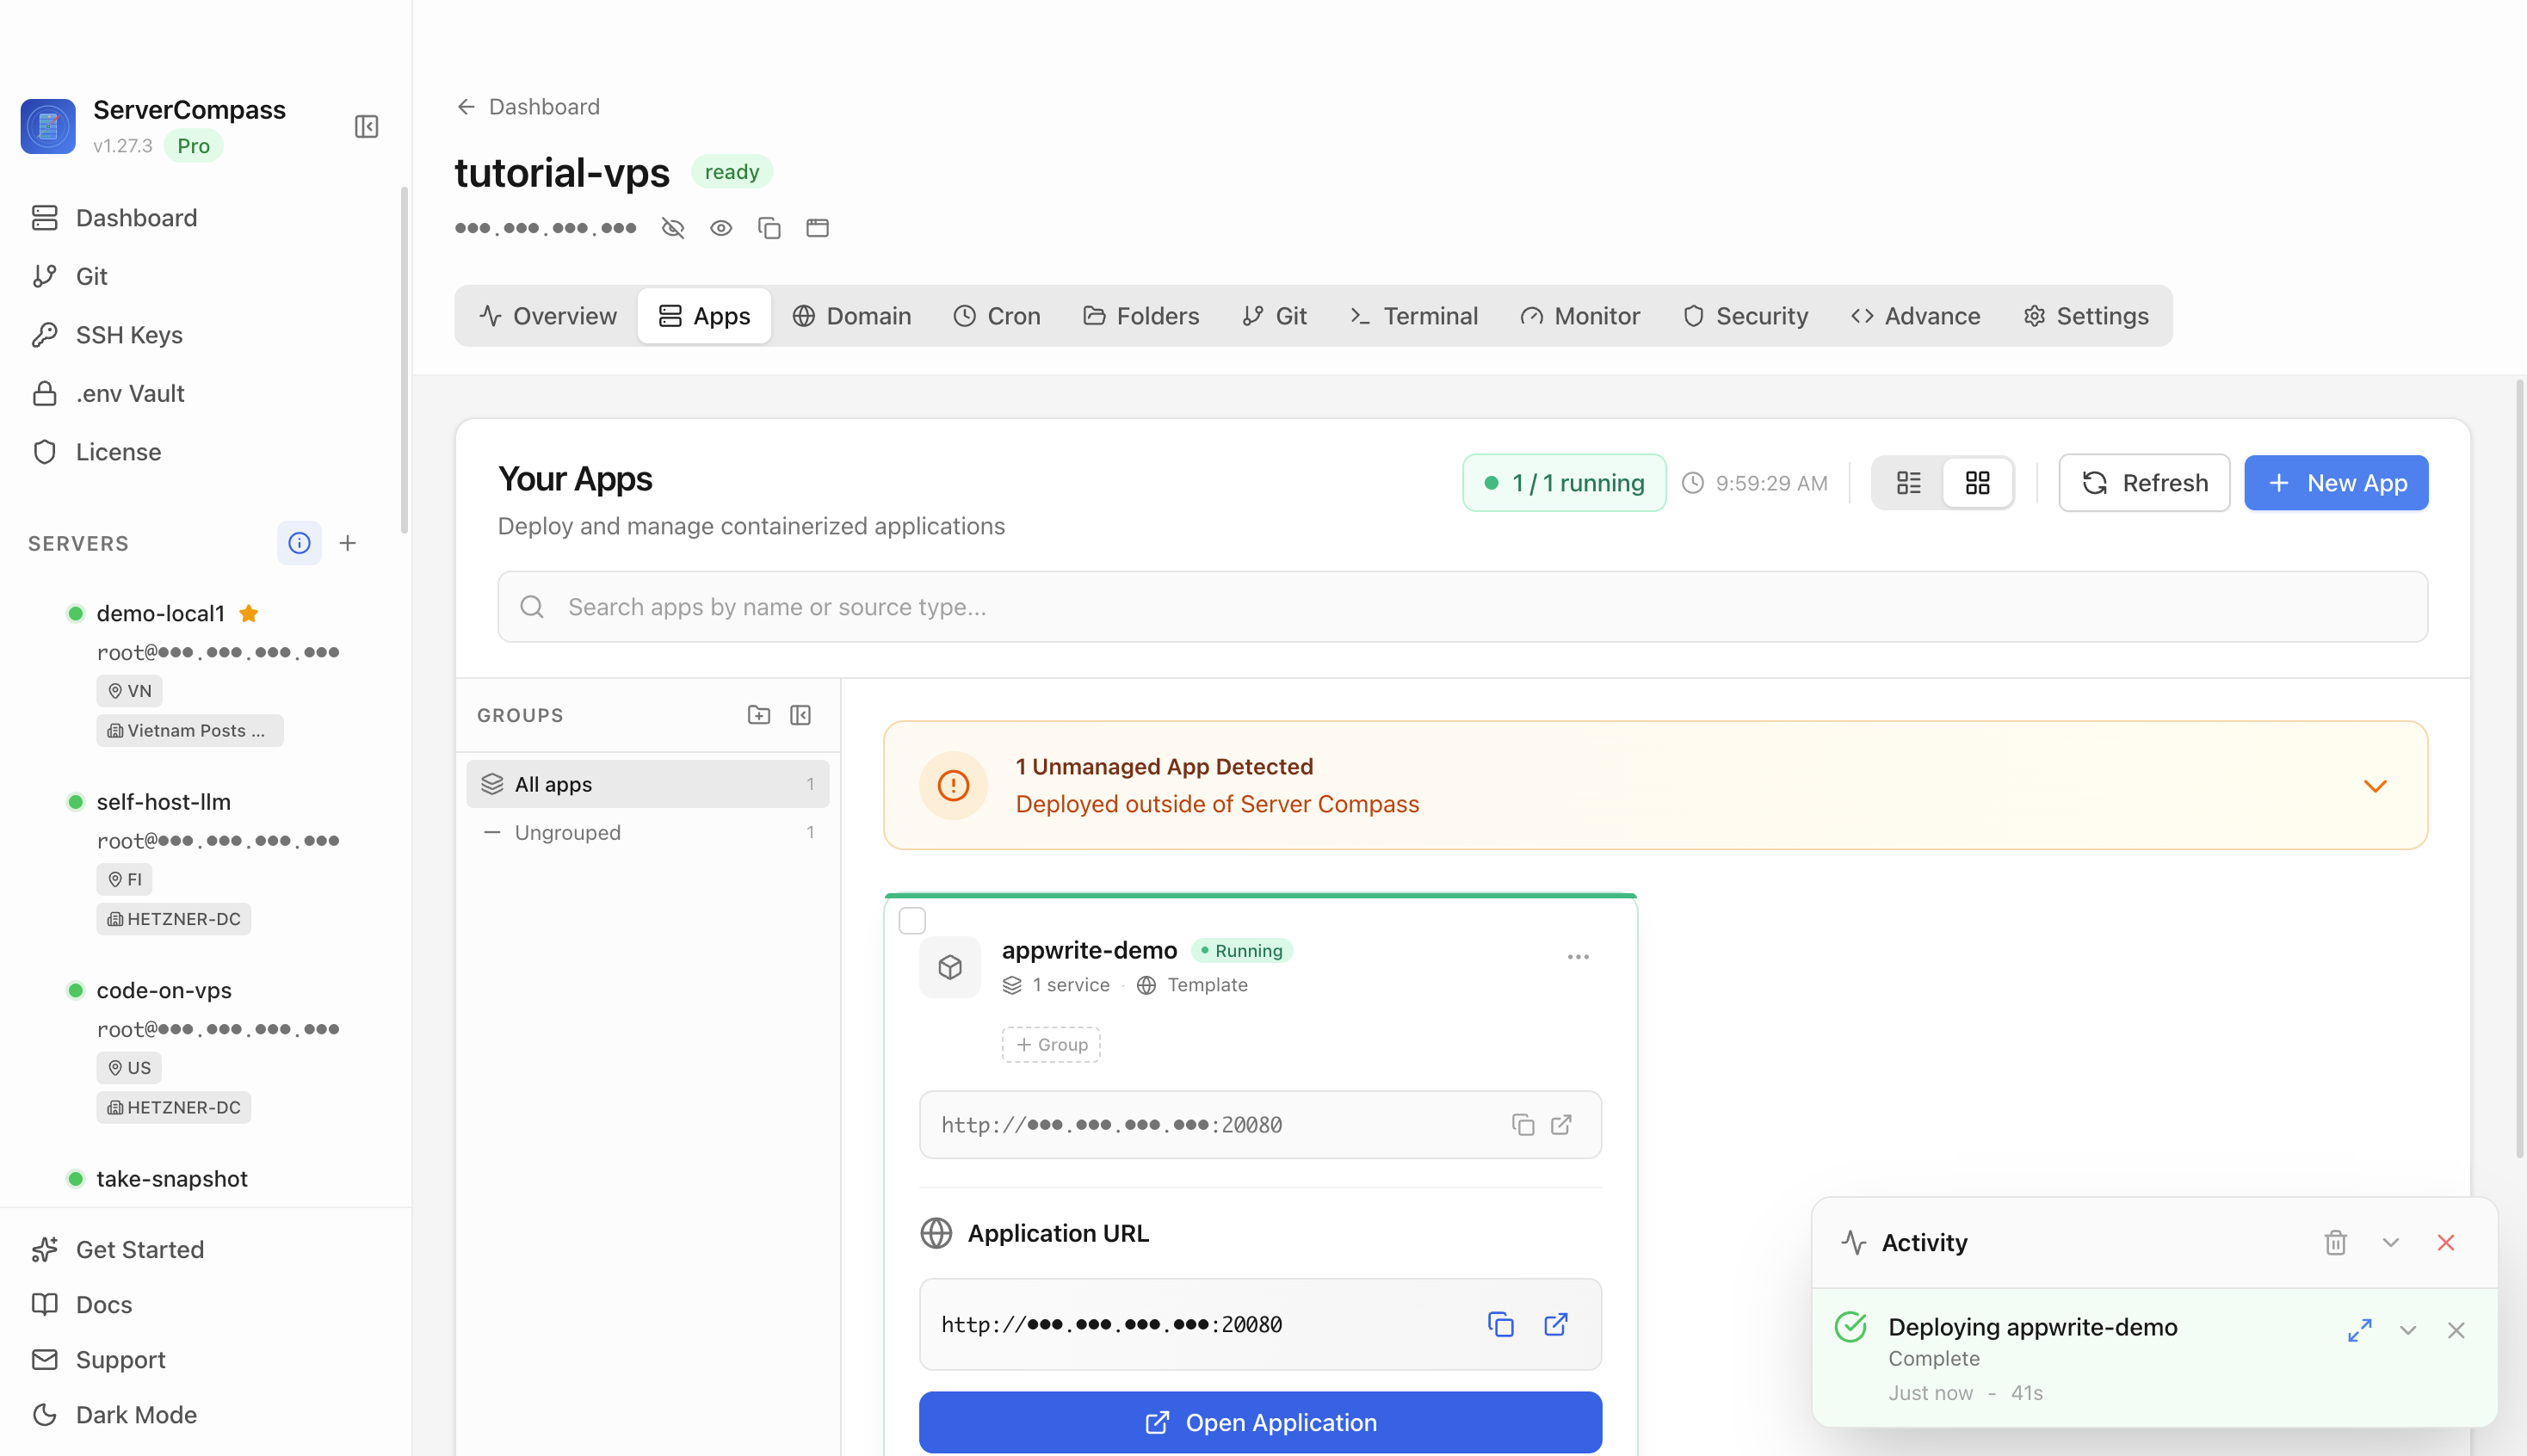
After deployment finishes, return to the Apps tab and confirm the Appwrite app is marked Running with its application URL available.
Click Open Application or open the application URL in a browser. The Appwrite installer wizard confirms the current self-hosted setup flow is reachable and ready to configure the full Appwrite stack.
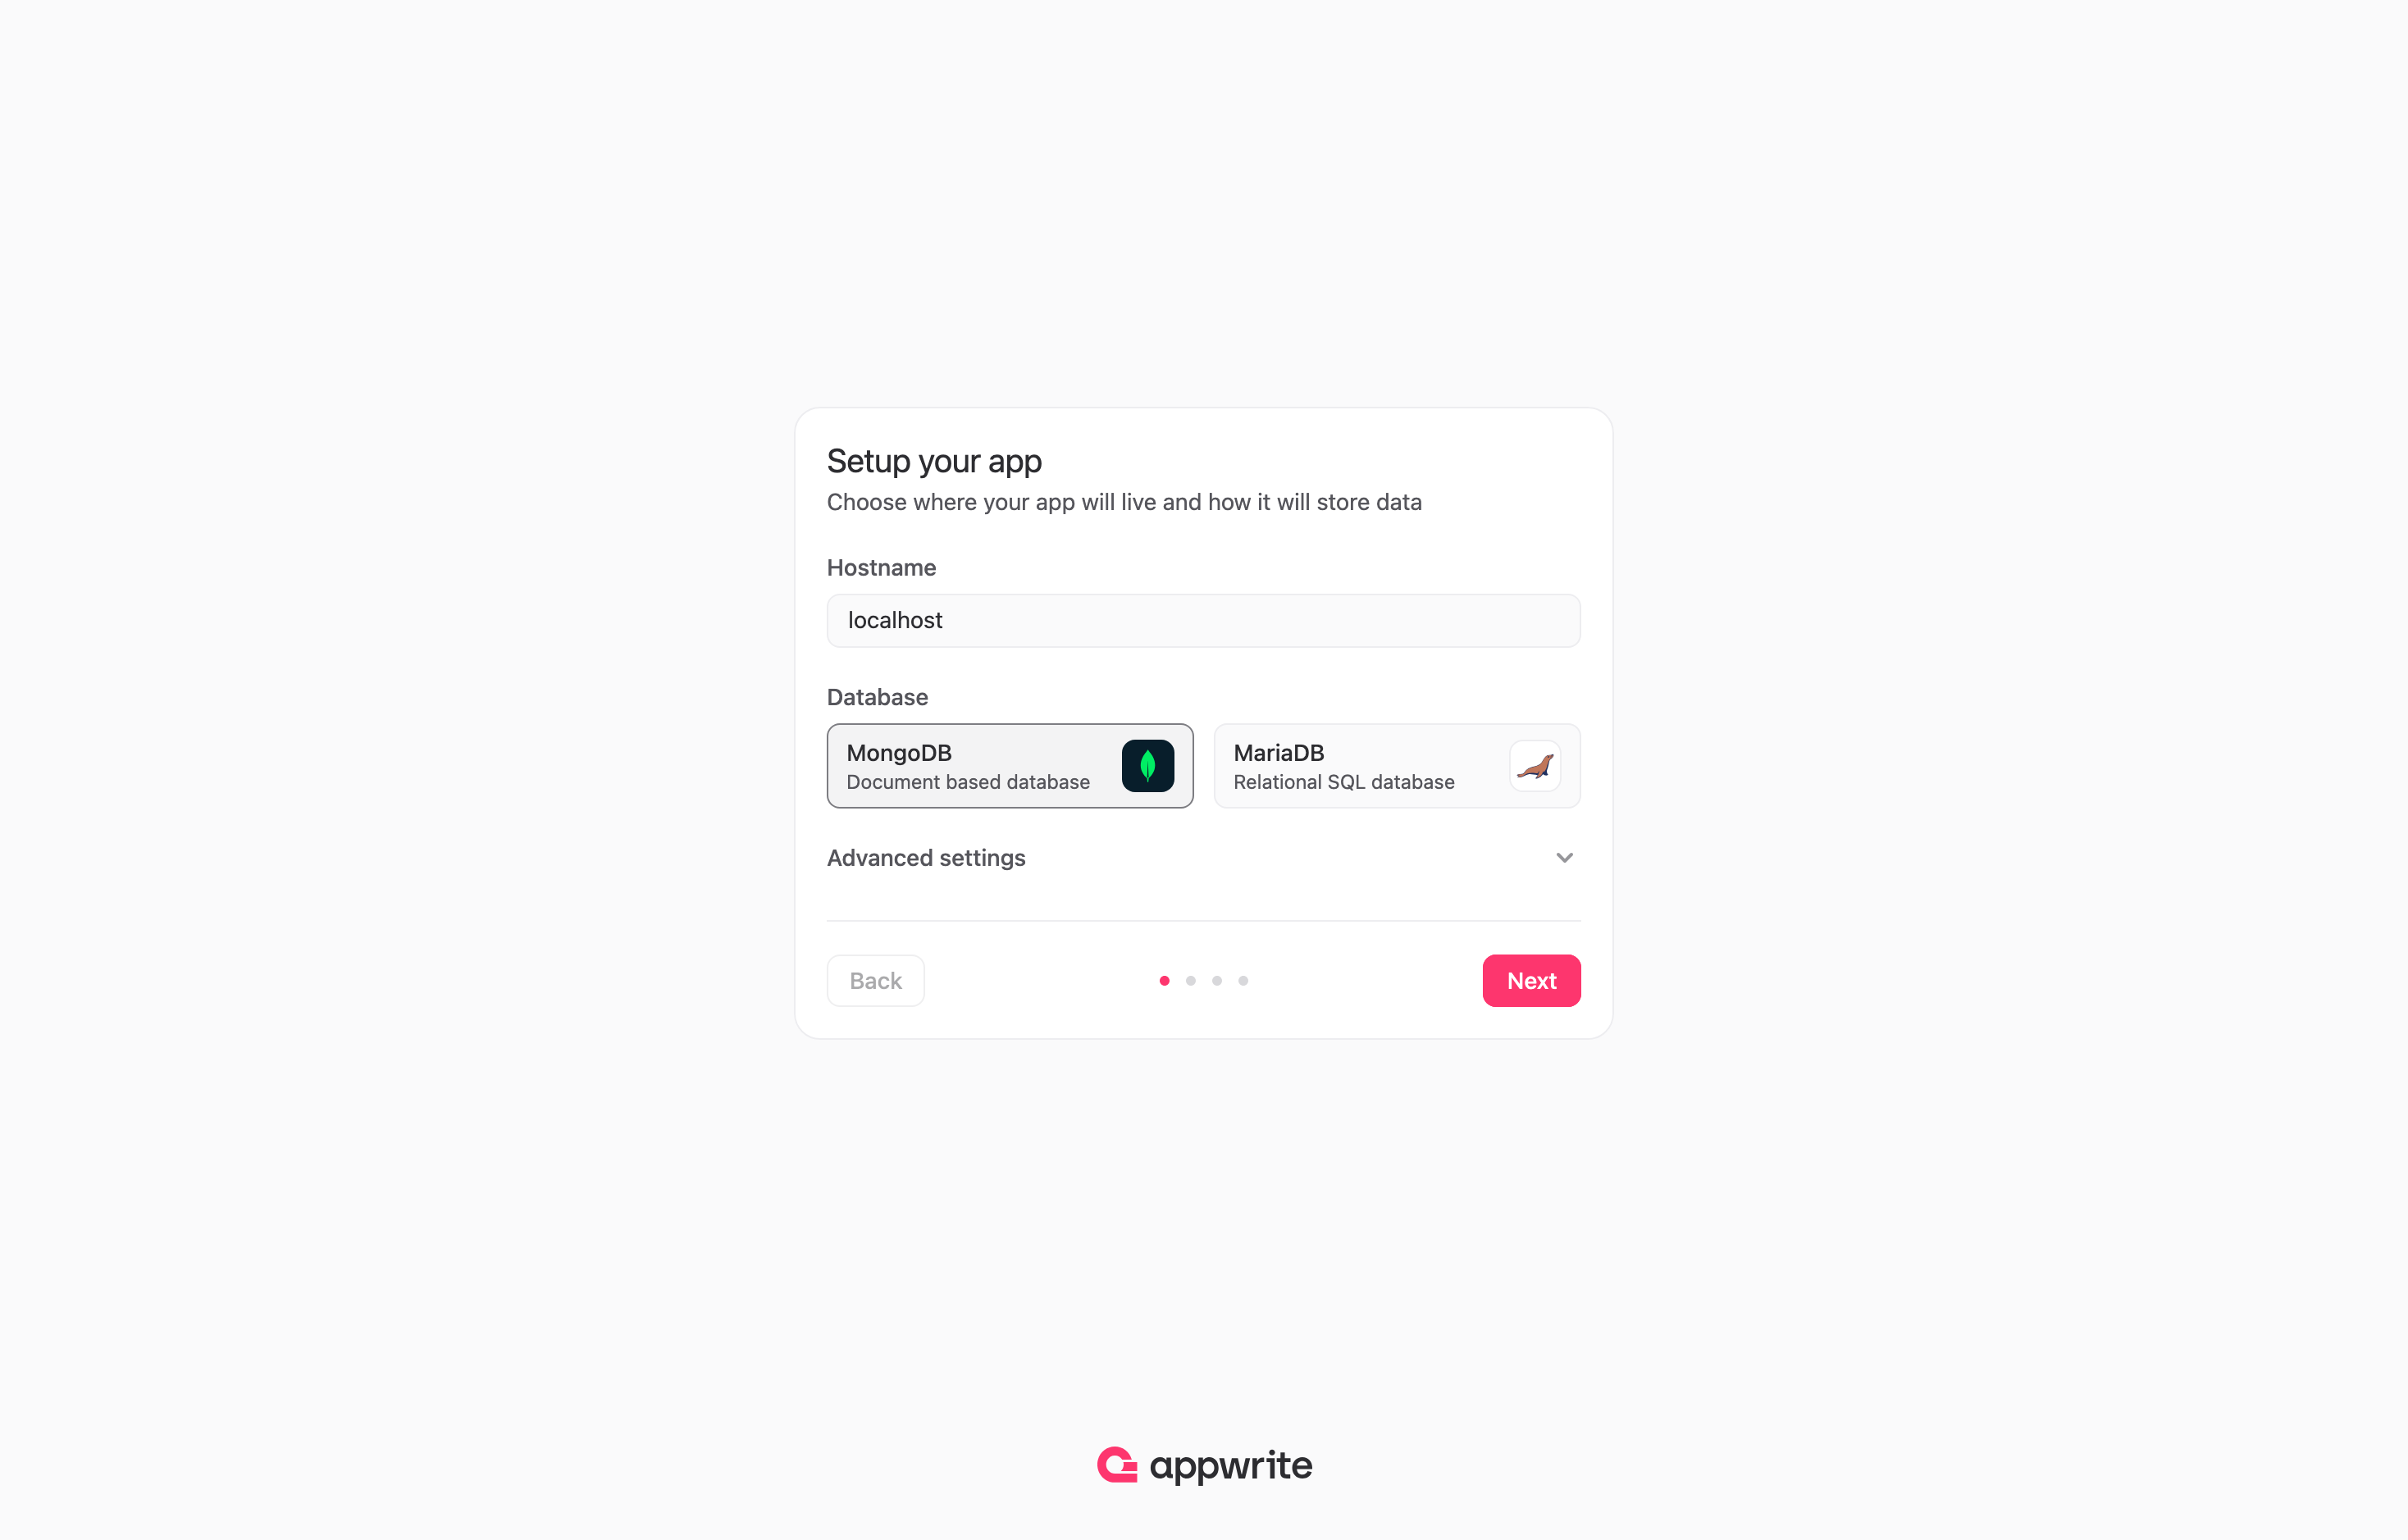
The Appwrite installer loaded successfully in a browser and displayed the setup wizard.
It starts the official Appwrite installer container with Docker socket access and a persistent install directory. The browser wizard then creates the full self-hosted Appwrite stack.
The tutorial used host port 20080, which maps to the Appwrite installer on container port 20080.
A fresh Appwrite deployment is considered reachable when the official installer wizard loads. Completing the wizard creates real services and credentials, so the public guide stops before account creation.
No. The deployment guide should live on the Appwrite template detail page and be linked from the reusable template deployment docs page.
Prefer the command line? Follow this step-by-step guide to deploy Appwrite manually on your VPS.
Open your terminal and connect to your server. Replace the IP address with your VPS IP.
# SSH into your server
ssh root@your-server-ip

# Using a custom SSH key
ssh -i ~/.ssh/id_rsa root@your-server-ip
First time? Need Docker? Install it: curl -fsSL https://get.docker.com | sh
Set up a clean directory for your application.
# Create and navigate to project directory
mkdir -p ~/apps/appwrite
cd ~/apps/appwriteSet up the container stack using this Docker Compose configuration:
services:
  appwrite:
    image: appwrite/appwrite:1.6
    ports:
      - "80:80"
    environment:
      - _APP_ENV=production
      - _APP_OPENSSL_KEY_V1=<your-openssl-key>
      - _APP_DOMAIN=<your-app-domain>
      - _APP_DOMAIN_TARGET=<your-app-domain>
      - _APP_REDIS_HOST=redis
      - _APP_REDIS_PORT=6379
      - _APP_DB_HOST=mariadb
      - _APP_DB_PORT=3306
      - _APP_DB_SCHEMA=appwrite
      - _APP_DB_USER=appwrite
      - _APP_DB_PASS=<your-db-password>
      - _APP_INFLUXDB_HOST=influxdb
      - _APP_INFLUXDB_PORT=8086
      - _APP_STORAGE_LIMIT=30000000
      - _APP_FUNCTIONS_TIMEOUT=900
      - _APP_EXECUTOR_SECRET=<your-executor-secret>
      - _APP_LOGGING_PROVIDER=
      - _APP_LOGGING_CONFIG=
    volumes:
      - appwrite_uploads:/storage/uploads
      - appwrite_cache:/storage/cache
      - appwrite_certificates:/storage/certificates
      - appwrite_functions:/storage/functions
    restart: unless-stopped
    depends_on:
      - mariadb
      - redis
      - influxdb

  mariadb:
    image: mariadb:10.11
    environment:
      - MYSQL_ROOT_PASSWORD=<your-db-root-password>
      - MYSQL_DATABASE=appwrite
      - MYSQL_USER=appwrite
      - MYSQL_PASSWORD=<your-db-password>
    volumes:
      - mariadb_data:/var/lib/mysql
    restart: unless-stopped
    healthcheck:
      test: ["CMD-SHELL", "mysqladmin ping -h localhost -u root -p$${MYSQL_ROOT_PASSWORD} || exit 1"]
      interval: 10s
      timeout: 5s
      retries: 5
      start_period: 60s

  redis:
    image: redis:7-alpine
    volumes:
      - redis_data:/data
    restart: unless-stopped
    healthcheck:
      test: ["CMD", "redis-cli", "ping"]
      interval: 10s
      timeout: 5s
      retries: 5

  influxdb:
    image: influxdb:1.8-alpine
    volumes:
      - influxdb_data:/var/lib/influxdb
    restart: unless-stopped

volumes:
  appwrite_uploads:
  appwrite_cache:
  appwrite_certificates:
  appwrite_functions:
  mariadb_data:
  redis_data:
  influxdb_data:
PORTHost port to expose(default: 80)OPENSSL_KEYOpenSSL encryption keyDB_PASSWORDDatabase passwordDB_ROOT_PASSWORDDatabase root passwordEXECUTOR_SECRETExecutor secretAPP_DOMAINDomain or IP where Appwrite is accessedLaunch your application stack in the background.
# Start the containers in detached mode
docker compose up -d

# Check if containers are running
docker compose ps

# View logs
docker compose logs -fConfigure your firewall to permit external connections.
# Allow the application port through firewall
sudo ufw allow 80/tcp
sudo ufw reload

# Access your app at:
# http://your-server-ip:80Deploy Appwrite with a beautiful UI instead. No SSH, no YAML editing, no terminal commands. Just click, configure, and deploy in under 3 minutes.
After deploying Appwrite with Server Compass, complete these steps to finish setup
Create your admin account
Create your first project
Need help? Check out our documentation for detailed guides.
Common questions about self-hosting Appwrite
Simply download Server Compass, connect to your VPS, and select Appwrite from the templates list. Fill in the required configuration and click Deploy. The entire process takes under 3 minutes.
Appwrite requires a minimum of 2048MB RAM. We recommend a VPS with at least 4096MB RAM for optimal performance. Any modern Linux server with Docker support will work.
Yes! Server Compass provides volume mapping that allows you to import existing data. You can also use standard Appwrite backup and restore procedures.
Server Compass makes updates easy. Simply click the Update button in your deployment dashboard, and the latest Appwrite image will be pulled and deployed with zero downtime.
Appwrite is open-source software. You only pay for your VPS hosting (typically $5-20/month) and optionally Server Compass ($29 one-time). No subscription fees or per-seat pricing.

Open-source backend in a single file with realtime database, auth, and file storage

Open-source backend framework with dashboard

Full Supabase self-hosted with Kong, GoTrue Auth, Realtime, and Studio

Open-source Airtable alternative - turn any database into a smart spreadsheet
Download Server Compass and deploy Appwrite to your VPS in under 3 minutes. No Docker expertise required.
Download Server Compass