February 26, 2026
How to Self-Host PostgreSQL on Your VPS the Easy Way
Deploy PostgreSQL to your own VPS in under 60 seconds with Server Compass. No SSH commands, no manual config — just one-click templates, a visual SQL editor, and automated backups.

PostgreSQL is the world's most advanced open-source relational database. It powers everything from side projects to Fortune 500 companies. But self-hosting it on a VPS? That's where most developers hit a wall.
Between SSH config, apt-get installs, pg_hba.conf edits, firewall rules, persistent storage, backups, and monitoring — what should be a 5-minute task turns into a 2-hour rabbit hole. And if you get the security wrong, your data is exposed to the entire internet.
This guide shows you how to deploy PostgreSQL to your own VPS in under 60 seconds using Server Compass — no terminal, no manual config files, and no compromises on security.
Why Self-Host PostgreSQL?
Managed database services like AWS RDS, Supabase Cloud, or Neon are convenient, but they come with real costs:
- Price — A small managed PostgreSQL instance costs $15–$50/month. A $5 VPS can run PostgreSQL alongside your entire application stack.
- Data sovereignty — Your data lives on your server, in your region, under your control. No third-party access, no surprise data processing agreements.
- No connection limits — Managed services often cap connections at 20–50 on starter tiers. Self-hosted PostgreSQL lets you configure
max_connectionsto whatever your hardware supports. - Full extension support — Install any PostgreSQL extension you need: PostGIS, pgvector, TimescaleDB, pg_cron, and more. No waiting for your provider to allowlist them.
- No vendor lock-in — Your data is a standard PostgreSQL dump away from moving anywhere.
The only downside has always been the operational overhead. That's exactly what Server Compass eliminates.
The Hard Way: Manual PostgreSQL Setup
Here's what a typical manual PostgreSQL deployment looks like. If you've done this before, feel free to skip to the easy way.
# SSH into your server
ssh root@your-server-ip

# Install PostgreSQL
apt update && apt install -y postgresql postgresql-contrib

# Switch to postgres user
sudo -u postgres psql

# Create a database and user
CREATE USER myapp WITH PASSWORD 'supersecretpassword';
CREATE DATABASE mydb OWNER myapp;
\\q

# Edit pg_hba.conf to allow remote connections
nano /etc/postgresql/16/main/pg_hba.conf
# Add: host all all 0.0.0.0/0 md5

# Edit postgresql.conf
nano /etc/postgresql/16/main/postgresql.conf
# Change: listen_addresses = '*'

# Restart PostgreSQL
systemctl restart postgresql

# Configure firewall
ufw allow 5432/tcp

# Set up backups (cron job)
crontab -e
# Add: 0 3 * * * pg_dump mydb > /backups/mydb_$(date +%F).sql

# Set up monitoring... SSL... log rotation...
That's 15+ steps, and we haven't even covered persistent Docker volumes, automatic restarts, SSL/TLS for connections, or what happens when your server reboots. One typo in pg_hba.conf and your database either refuses all connections or accepts them from anyone.
The Easy Way: Deploy PostgreSQL with Server Compass
With Server Compass, the entire process takes three clicks and about 60 seconds. Here's how.
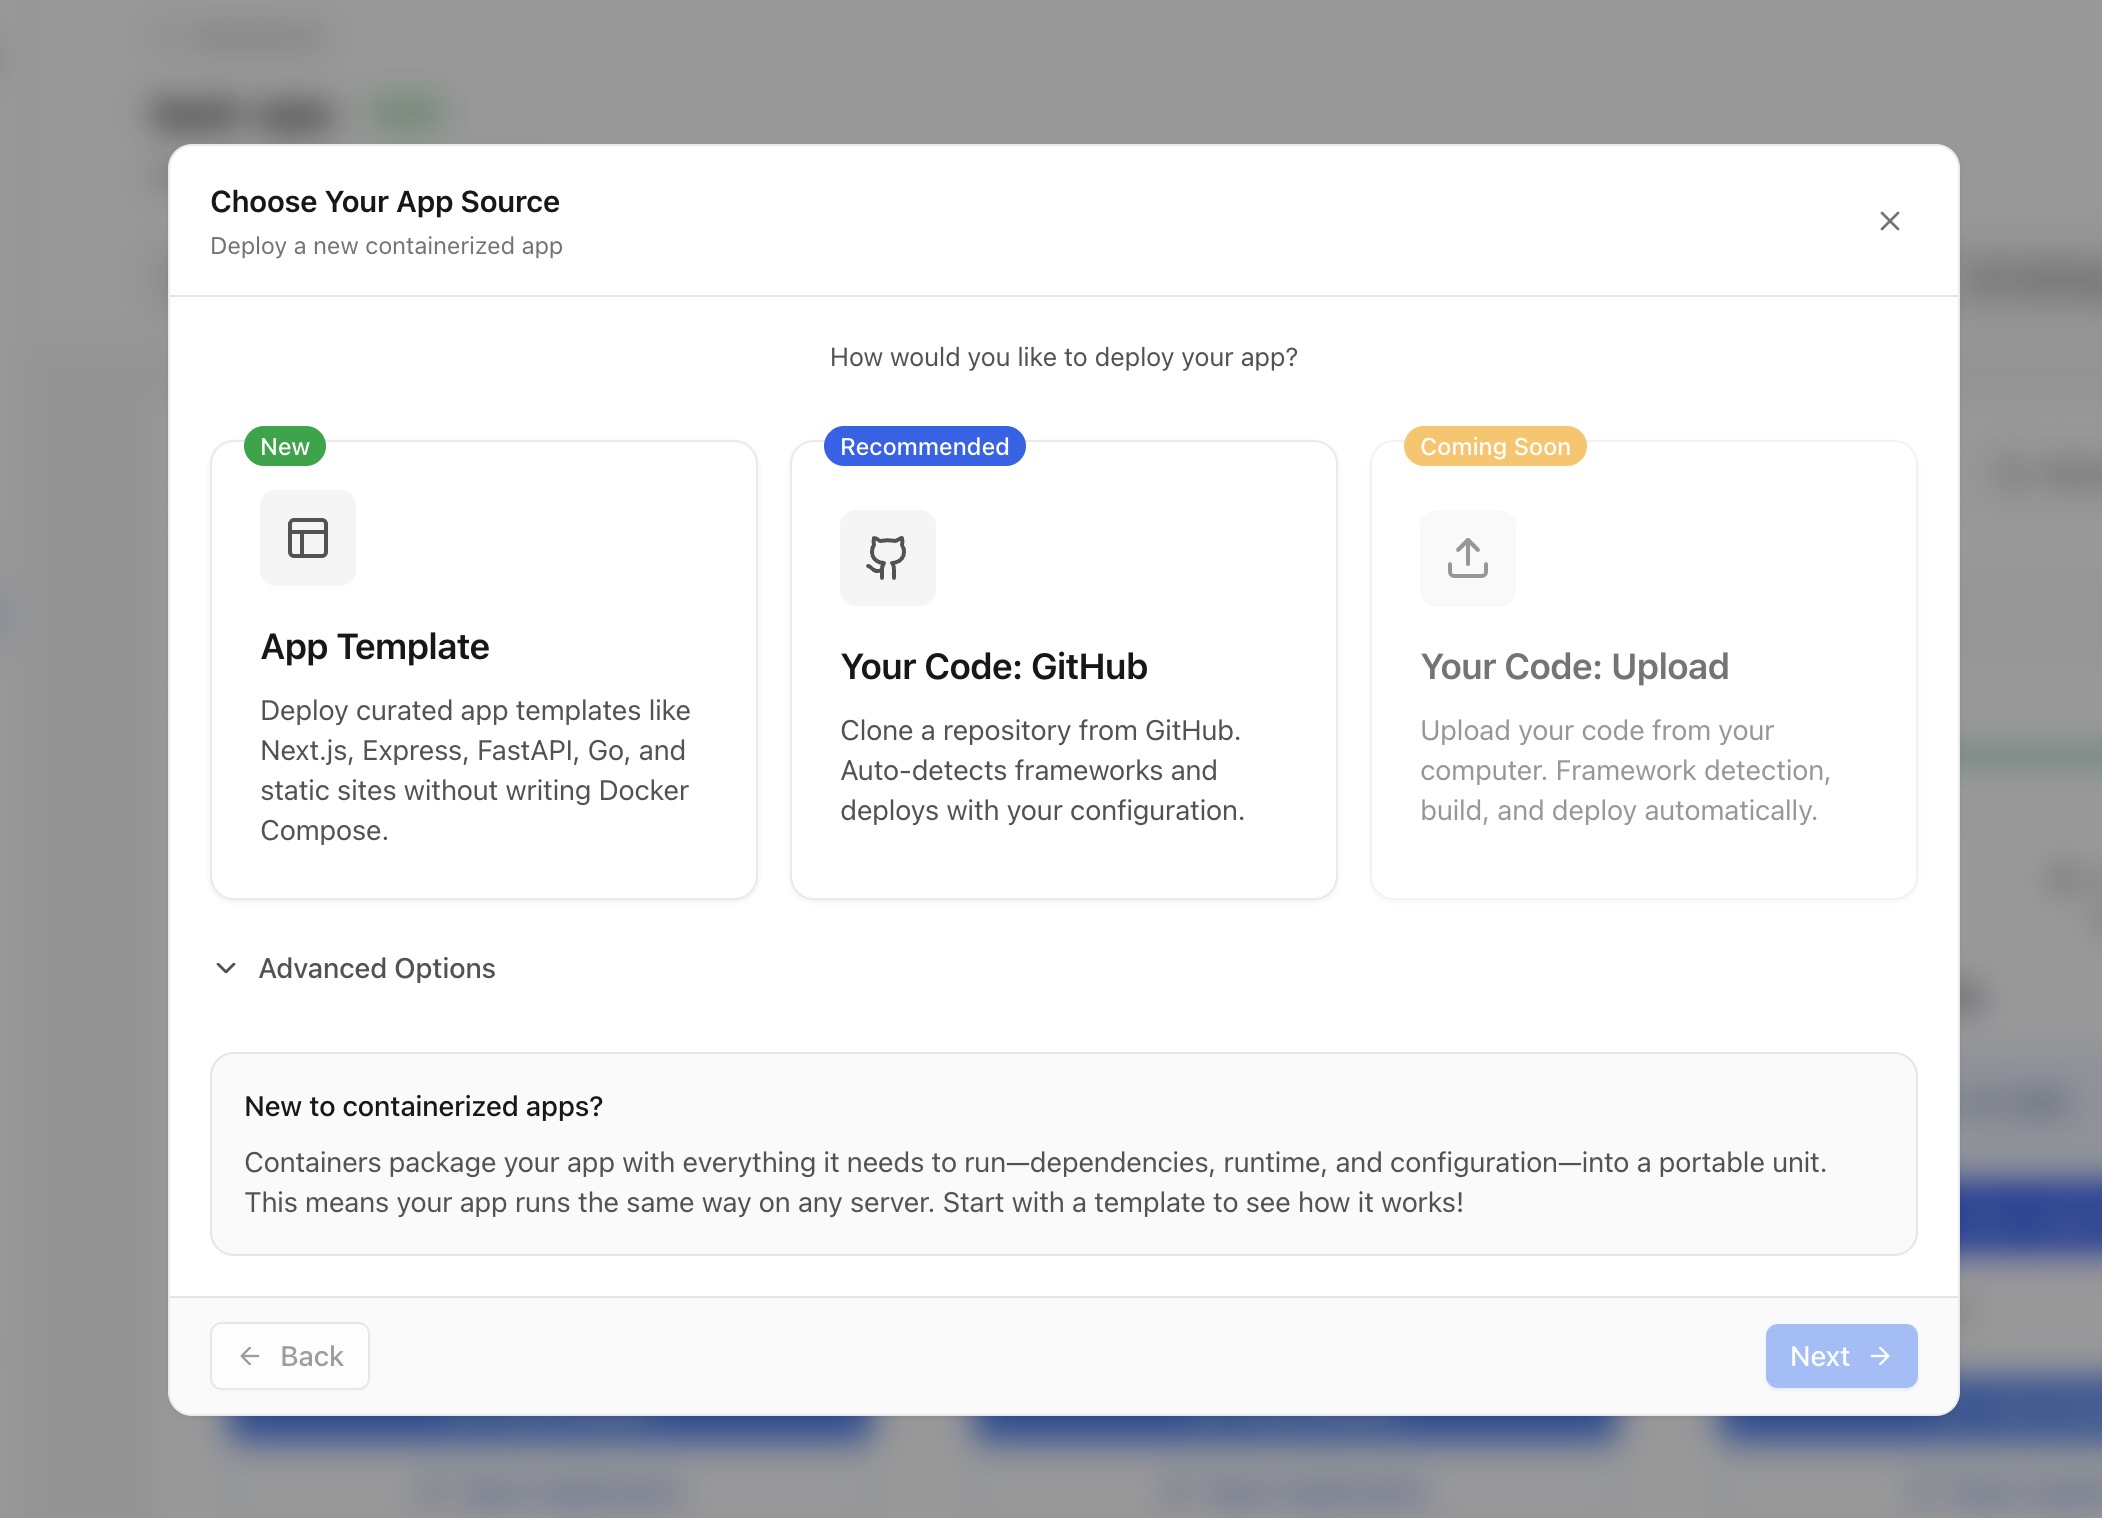
Step 1: Open the Template Gallery
In Server Compass, click New App and select From Template. The template gallery includes 100+ pre-configured Docker stacks.
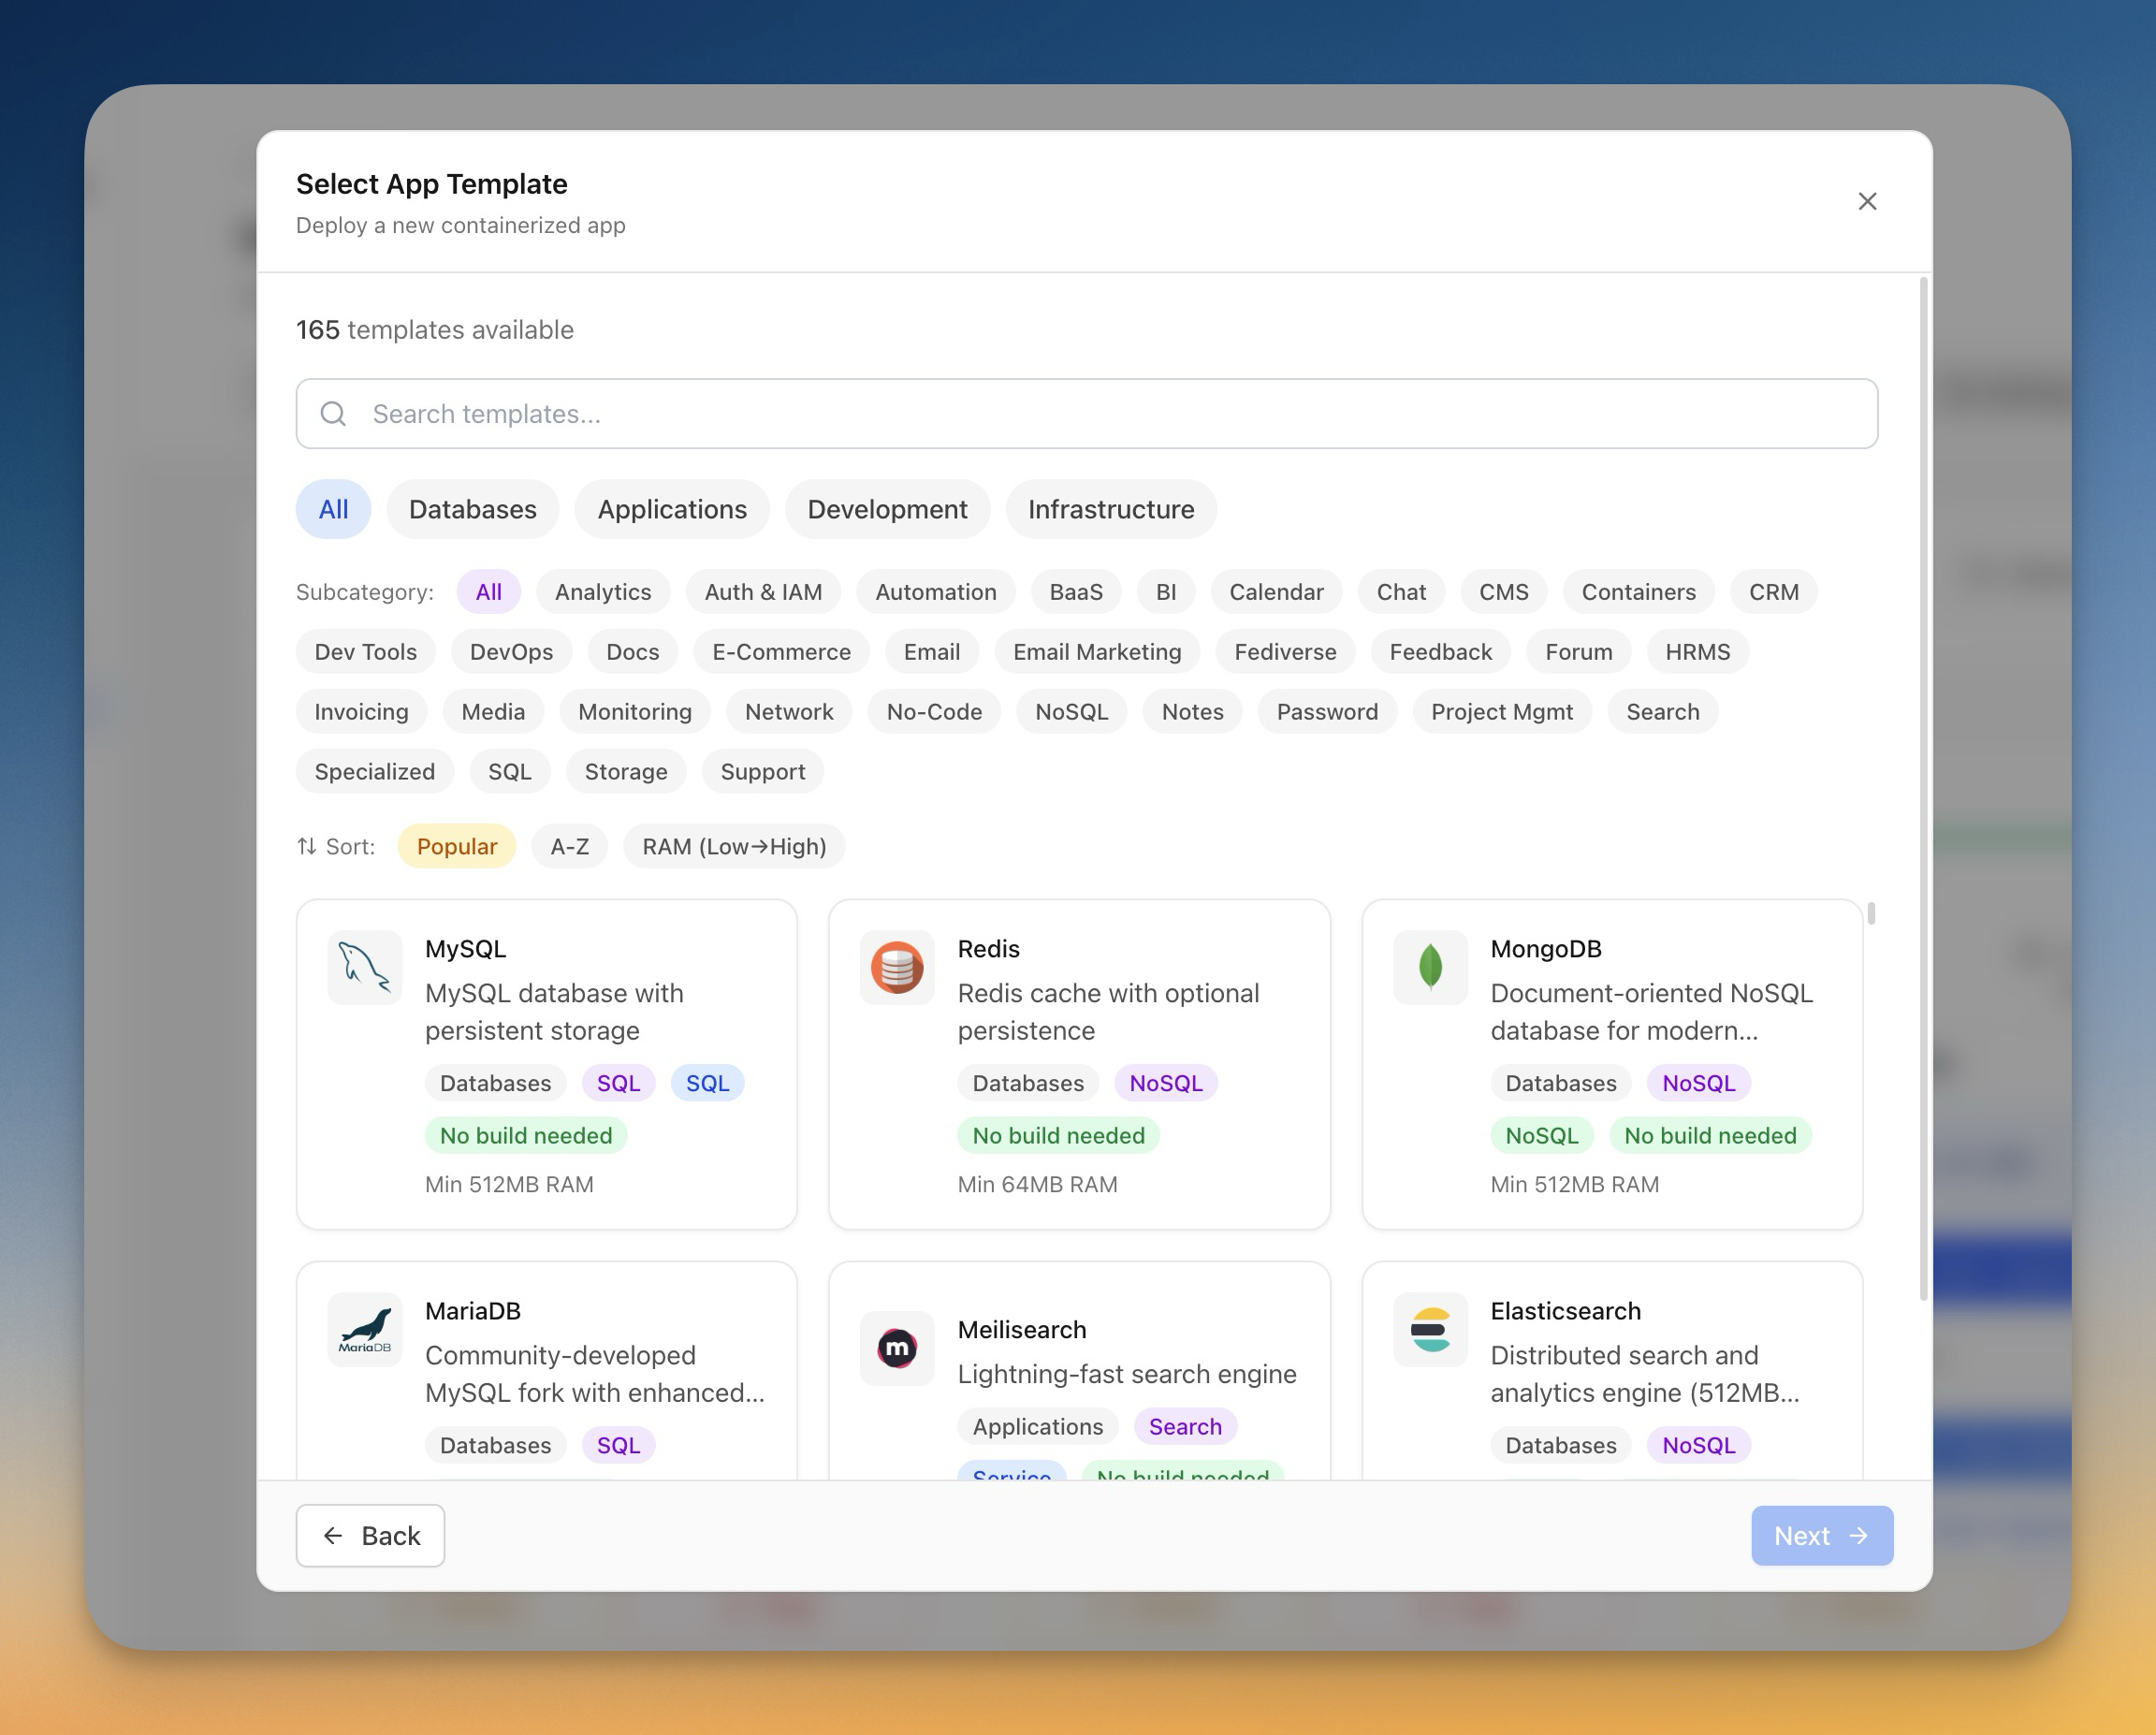
Search for "PostgreSQL" or browse the Database category. You'll find the PostgreSQL template ready to go.
Step 2: Configure and Deploy
The Docker Stack Wizard lets you customize your PostgreSQL deployment before it goes live:
- Database name — Set the default database via
POSTGRES_DB - Username and password — Configure
POSTGRES_USERandPOSTGRES_PASSWORD - Persistent volume — Data is automatically stored on a Docker volume that survives container restarts, redeployments, and server reboots
- Port mapping — Expose PostgreSQL on port 5432 (or any custom port)
Hit Deploy and Server Compass handles the rest: pulling the official PostgreSQL Docker image, creating the volume, configuring the container, and starting the service. The entire process takes about 30–60 seconds depending on your server's internet speed.
Step 3: Verify the Deployment
Once deployed, the container status panel shows your PostgreSQL instance running with real-time CPU and memory usage. You can see at a glance whether it's healthy and how many resources it's consuming.
Manage Your Database Visually
Deploying PostgreSQL is only half the story. You also need to create tables, run queries, import data, and monitor performance. Server Compass includes a full suite of database management tools — no separate pgAdmin installation required.
Database Admin Panel
The built-in database admin interface gives you a visual overview of your PostgreSQL instance. Browse databases, view table schemas, check column types and relationships — all from the same app you used to deploy.

SQL Query Editor
Need to run a quick query? The SQL editor supports syntax highlighting, result tables, and query history. Write SELECT, INSERT, CREATE TABLE, or any other SQL statement and see results instantly.

Tables and Schema Browser
The tables browser lets you explore your database structure visually. See all tables, their columns, data types, indexes, and constraints without writing \dt or \d+ tablename in a terminal.

Data Import and Export
Migrating data from another database? Use the CSV import feature to upload data directly into your tables with column mapping and data preview. You can also export tables and query results to CSV or JSON for backups, analysis, or migration.
Secure Your Database Credentials
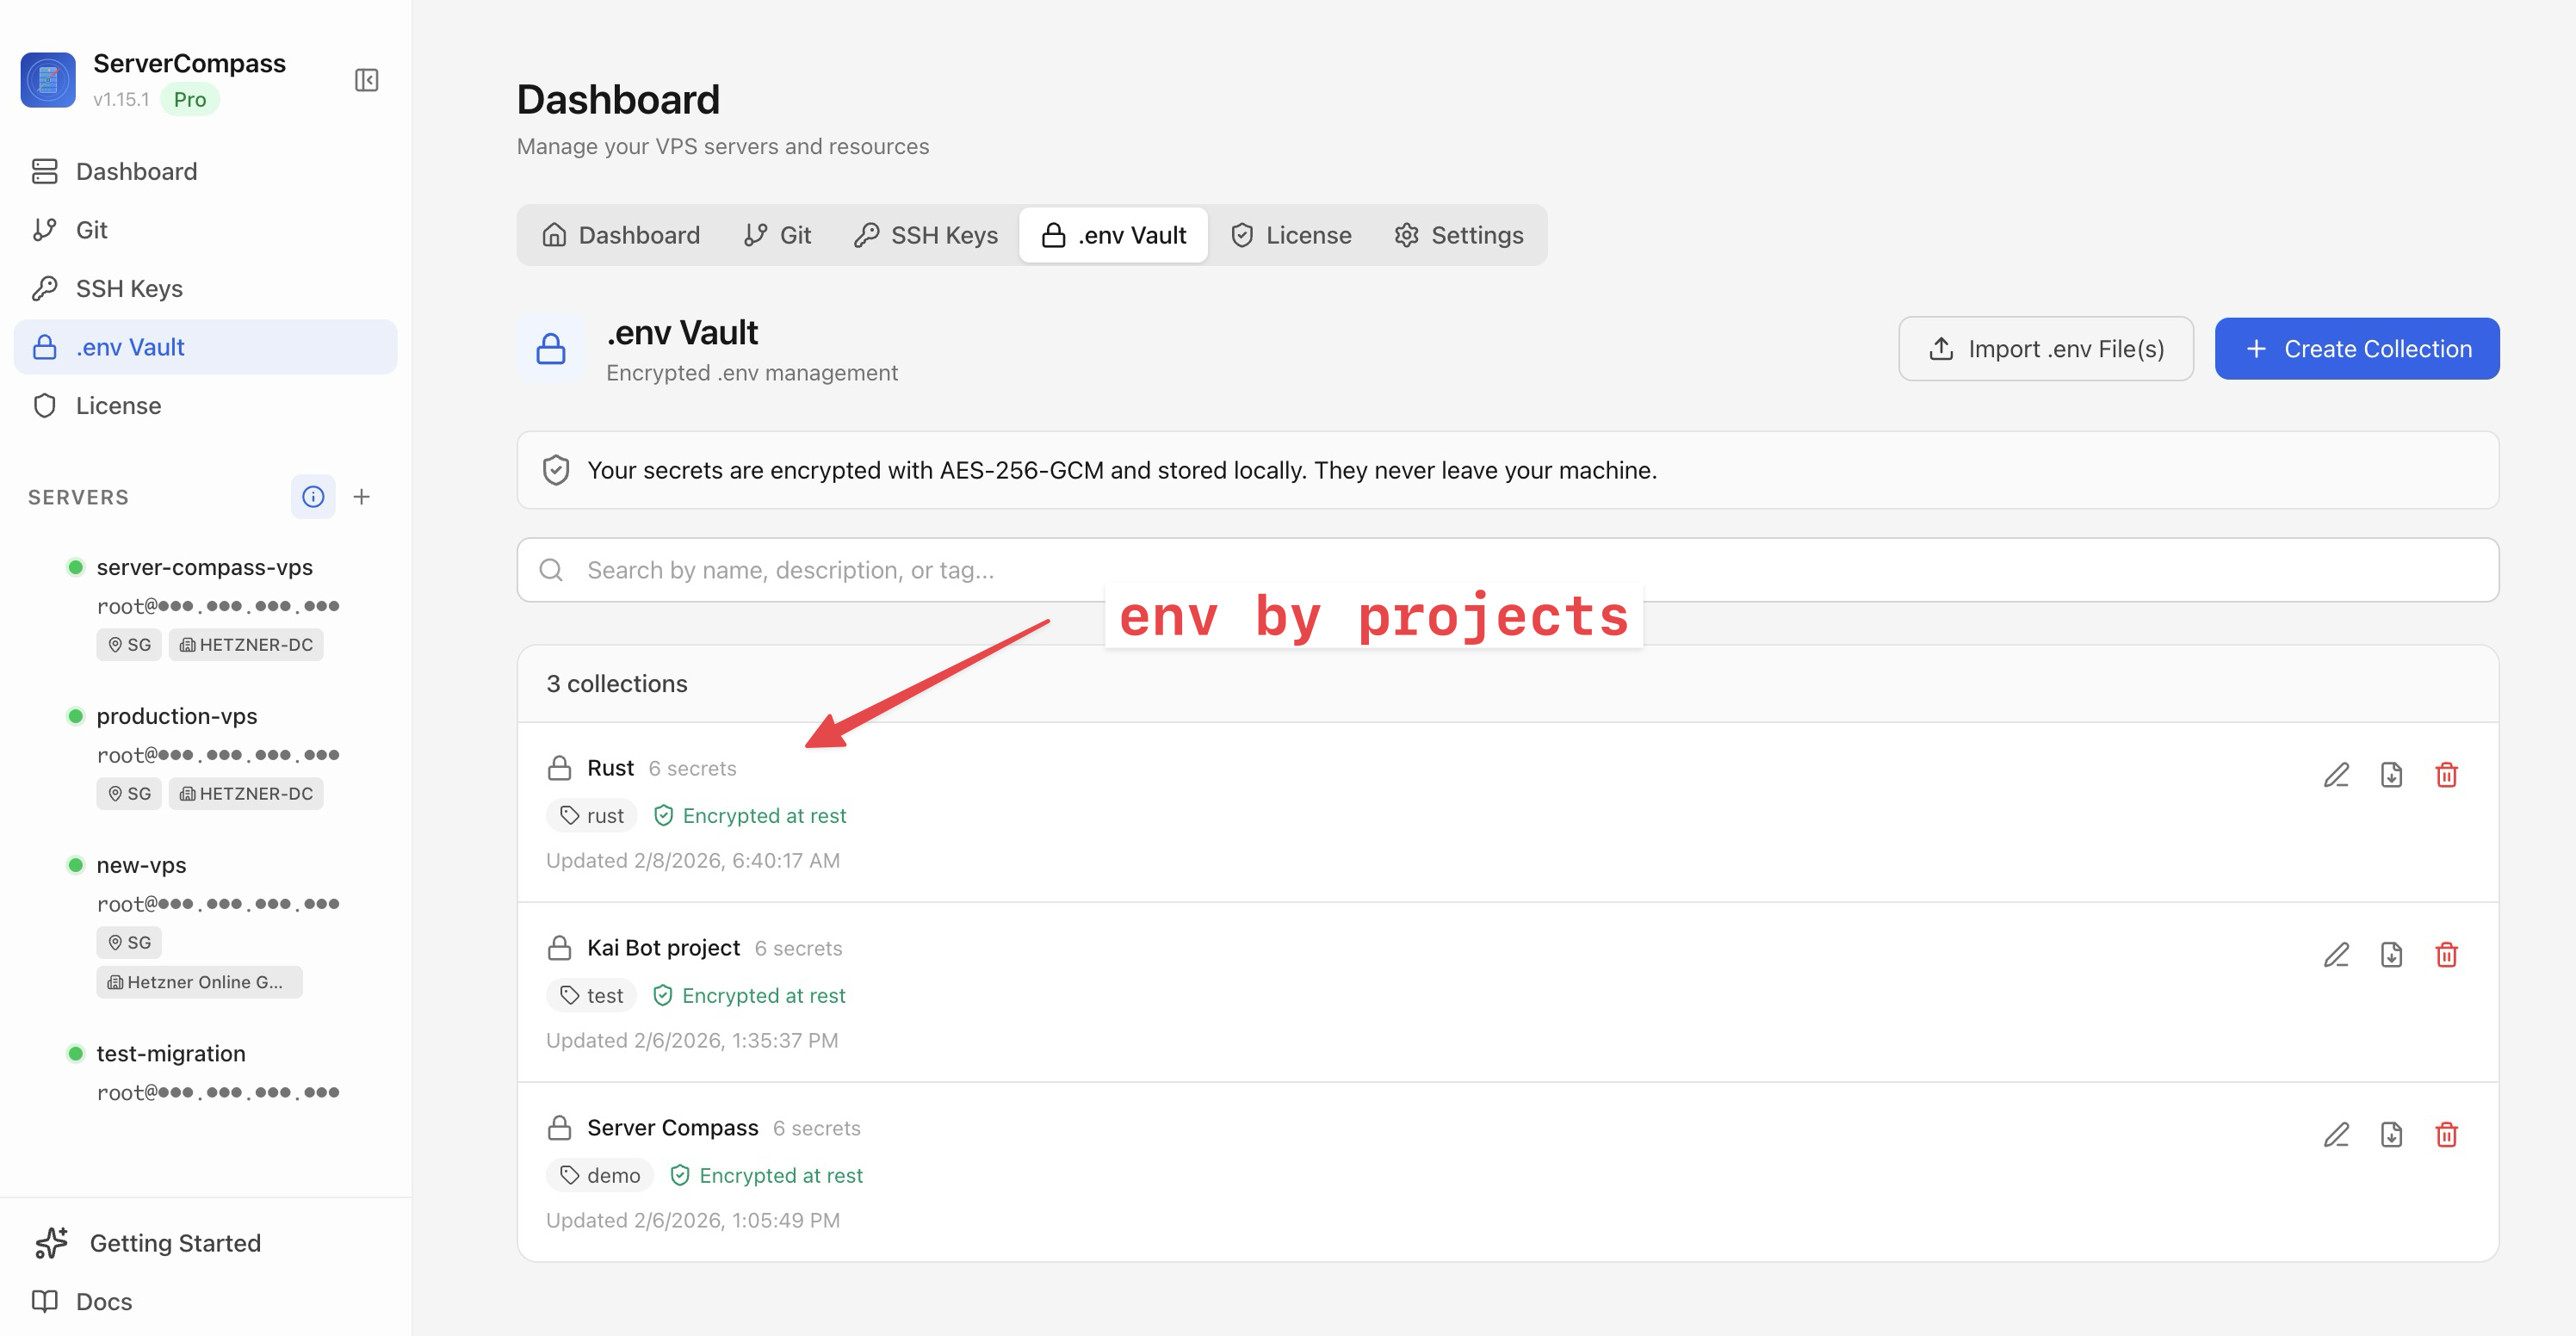
Database passwords are the keys to your kingdom. Server Compass stores them in the .env Vault, encrypted with AES-256-GCM and kept in your OS keychain. They never leave your machine and are never stored on any remote server.
When your app needs to connect to PostgreSQL, just reference the environment variables in your Docker Compose configuration. Server Compass injects them securely at deploy time. See the environment variables tutorial for a walkthrough.
Set Up Automated Backups
A database without backups is a disaster waiting to happen. Server Compass offers two backup strategies:
Server-Level Backups
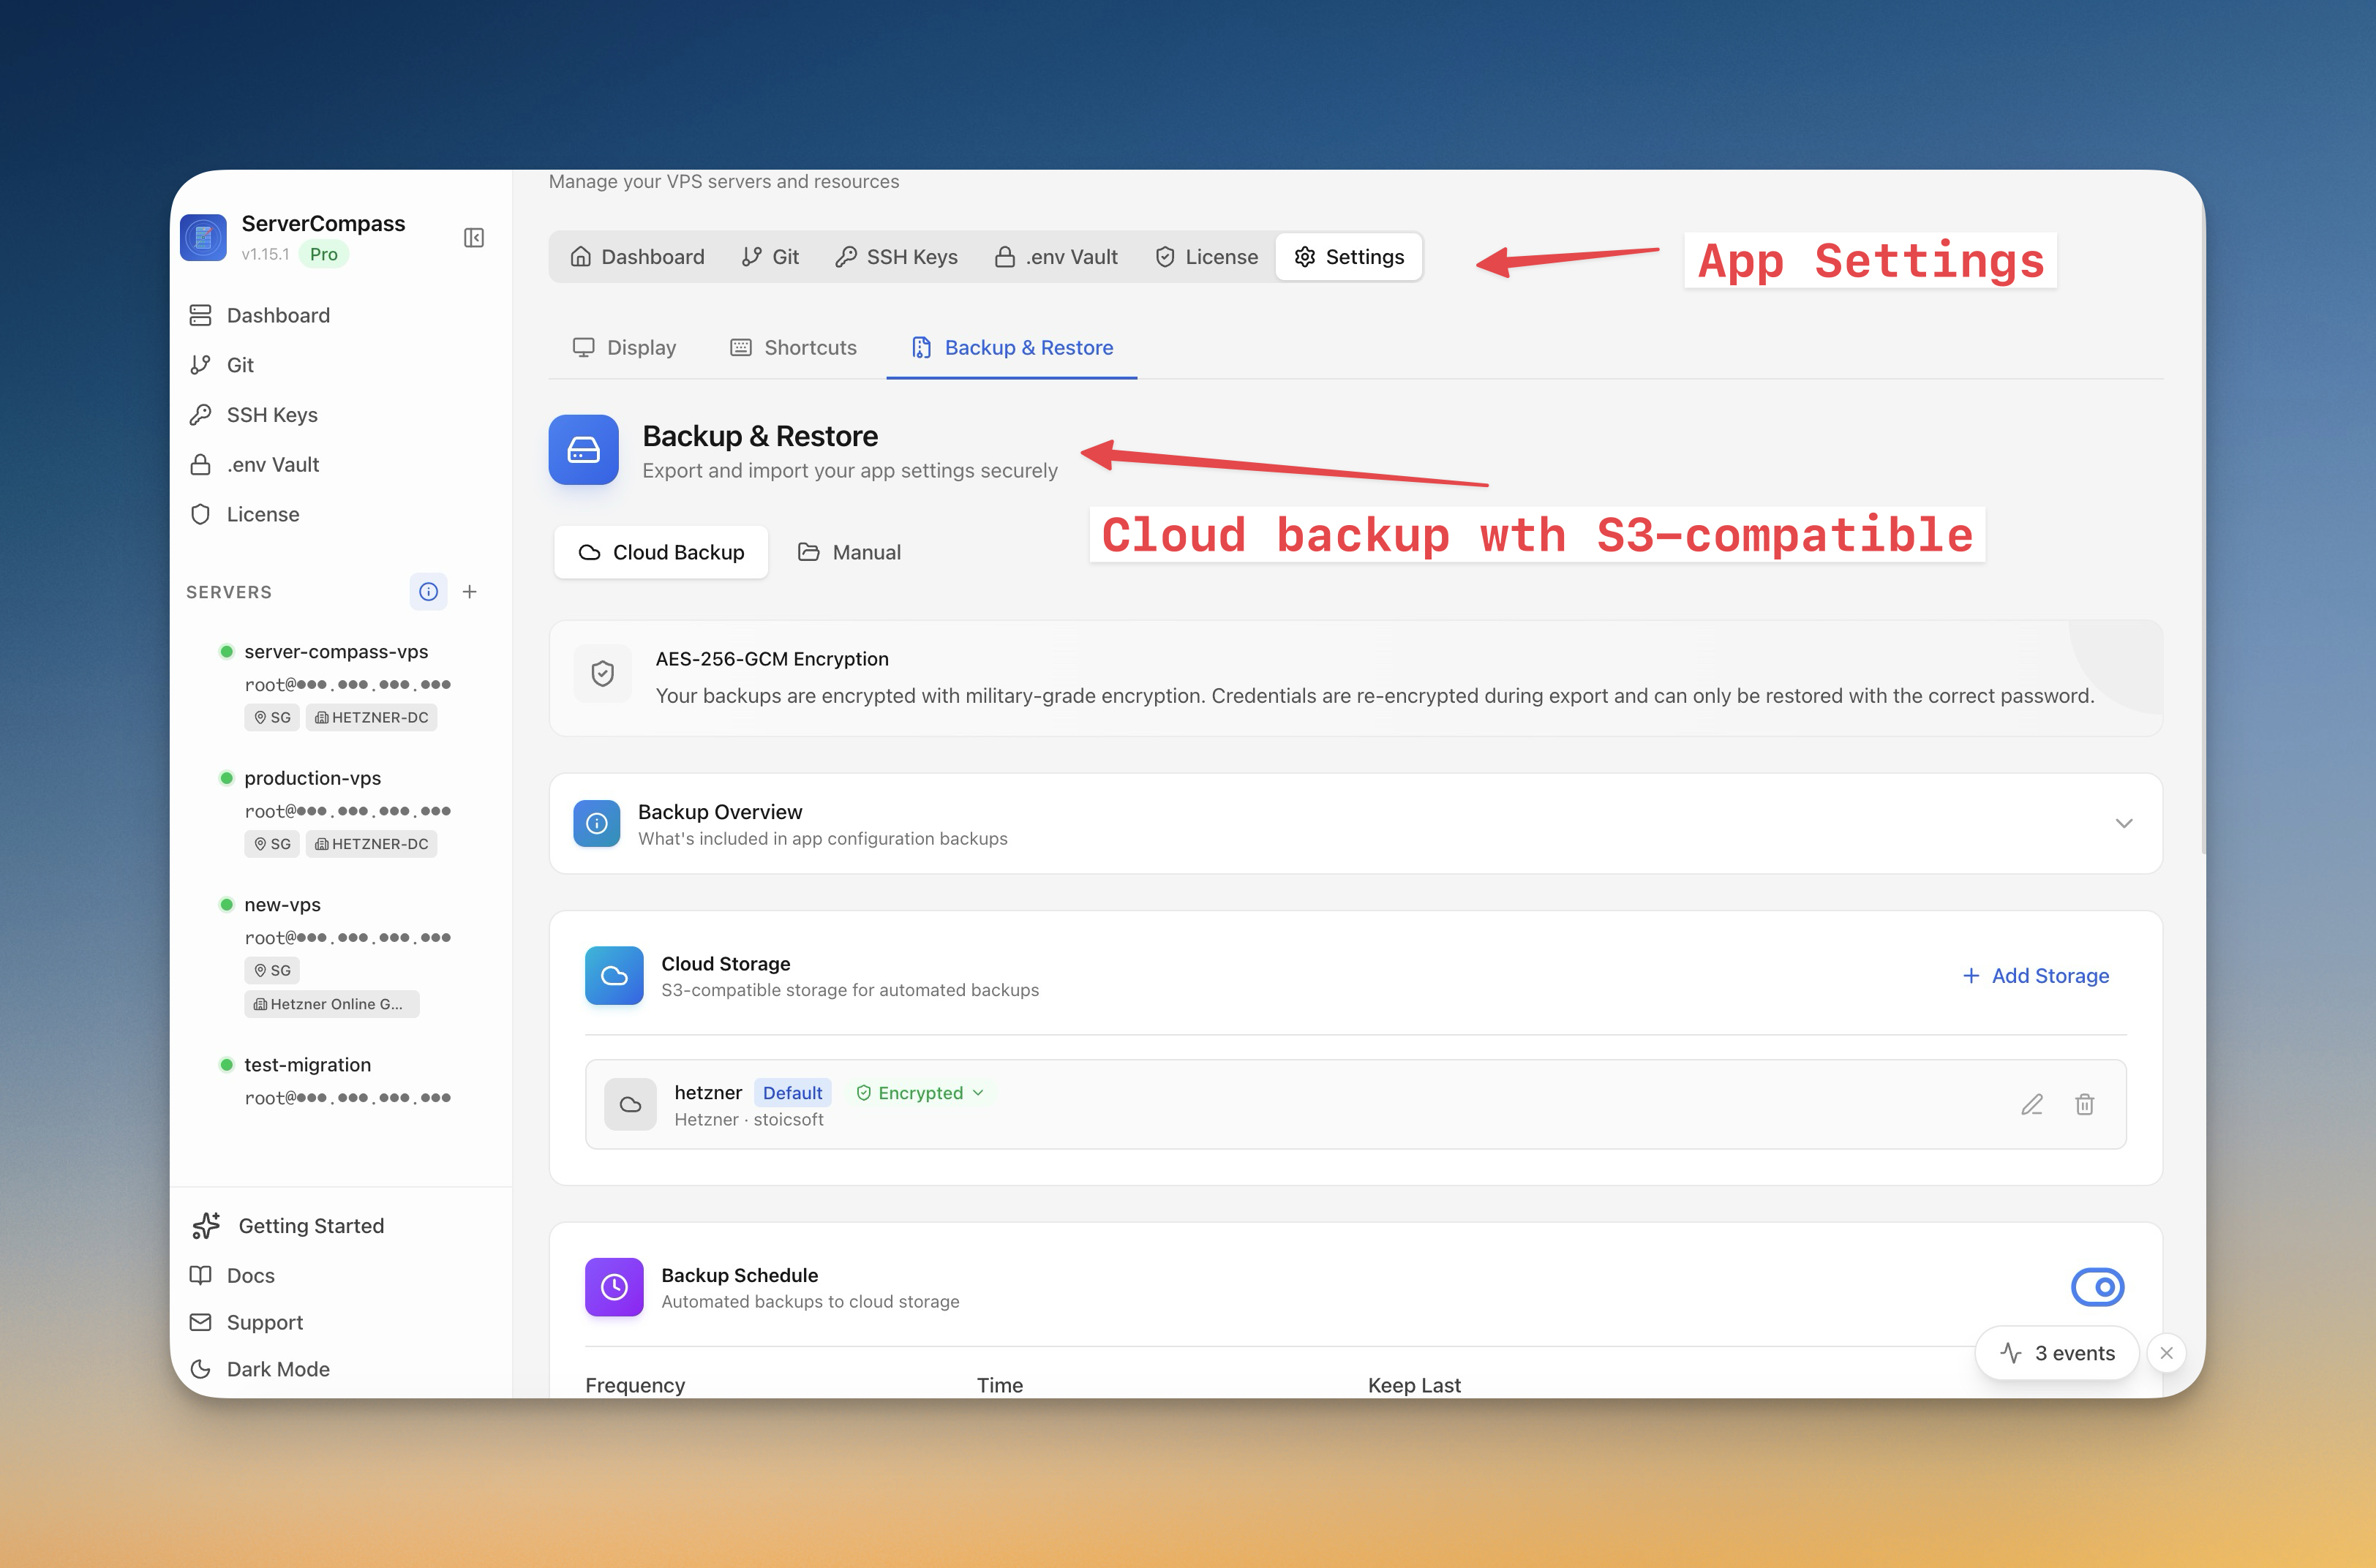
The server backups feature creates full snapshots of your server's Docker volumes (including PostgreSQL data) and stores them locally or in S3-compatible storage (AWS S3, Backblaze B2, Cloudflare R2, MinIO). Schedule backups daily, weekly, or at any custom interval.
Cron-Based pg_dump
For more granular control, set up a cron job that runs pg_dump on a schedule. The cron templates include pre-built database backup scripts you can customize. No more hand-editing crontab files — just pick a template, set the schedule visually, and you're done.
Connect Your Apps to PostgreSQL
Once PostgreSQL is running, connecting your application is straightforward. Use the standard connection string format:
postgresql://myuser:mypassword@your-server-ip:5432/mydb
If your app runs on the same server (which it probably does), use the Docker network hostname instead of the IP:
postgresql://myuser:mypassword@your-postgres-container:5432/mydb
Docker networking handles the routing automatically. No firewall rules to configure, no exposed ports to worry about.
Popular Stacks with PostgreSQL
Server Compass includes templates for the most popular PostgreSQL-backed applications. Each one deploys with PostgreSQL pre-configured:
- Strapi — Headless CMS with PostgreSQL as the default database. See the Strapi + PostgreSQL deployment tutorial .
- Supabase — Full Firebase alternative built on PostgreSQL, with Auth, Realtime, and Studio. See the self-host Supabase tutorial.
- Directus — Open-source headless CMS and data platform that wraps any SQL database in a real-time API.
- Ghost — Professional publishing platform. While Ghost uses MySQL by default, many teams deploy it alongside a PostgreSQL instance for analytics or custom integrations.
- TimescaleDB — Time-series extension for PostgreSQL, perfect for metrics, IoT data, and analytics workloads.
Monitor Performance
PostgreSQL performance depends on your server's resources. The resource monitoring dashboard shows real-time CPU, memory, disk, and network usage. If your database starts consuming too much memory or your disk is filling up with WAL files, you'll see it immediately.
Need to dig deeper? Open the built-in SSH terminal and run PostgreSQL diagnostic queries directly, or check logs from the container logs panel.
Security Best Practices
Self-hosting a database means you're responsible for security. Server Compass helps with several layers:
- No exposed ports by default — PostgreSQL runs inside Docker's internal network. Only apps on the same server can connect unless you explicitly expose the port.
- UFW firewall — The firewall manager lets you whitelist specific IPs if you do need external access to PostgreSQL.
- Fail2ban — Fail2ban blocks brute-force SSH attempts against your server, protecting the host that runs your database.
- SSH hardening — The SSH hardening feature disables password authentication and enforces key-based access to your server.
- Security audit — Run a one-click security audit to check for common misconfigurations across your entire server.
Cost Comparison: Self-Hosted vs Managed
Here's a quick cost comparison for a typical indie developer or small team:
Service
Monthly Cost
Storage
Connections
AWS RDS (db.t3.micro)
~$15–$25
20 GB
66
Supabase Pro
$25
8 GB
60 direct
Neon (Scale)
$69
50 GB
500
Railway
$5 + usage
1 GB free
Unlimited
Self-hosted (Hetzner VPS)
$4–$6
40–80 GB
Unlimited
A $5 Hetzner VPS gives you 40 GB of NVMe storage, 4 GB of RAM, and enough headroom to run PostgreSQL alongside your application, Traefik reverse proxy, and monitoring tools — all for less than the cheapest managed database tier.
Add Server Compass at $29 one-time (no subscription), and you have a complete deployment and database management platform that pays for itself in the first month.
Get Started in 60 Seconds
Here's the complete workflow from zero to a running PostgreSQL instance:
- Download Server Compass — Install the desktop app (Mac, Windows, or Linux)
- Connect your VPS — Add your server with SSH credentials. See the server connection tutorial if you need help.
- Deploy PostgreSQL — Open the template gallery, search for PostgreSQL, configure your credentials, and click Deploy.
- Manage visually — Use the SQL editor, tables browser, and admin panel to manage your database without ever opening a terminal.
- Set up backups — Configure server backups or a cron-based
pg_dumpschedule.
That's it. No SSH sessions, no config file editing, no firewall gymnastics. Just a PostgreSQL database running on hardware you own, managed through a visual interface.
Ready to self-host your database? Try Server Compass today — $29 one-time, no subscription, no usage fees.
Related in the StoicSoft network
If you're self-hosting on a VPS or working through a deployment guide like the one above, DeployToVPS is the StoicSoft network's handbook for VPS deployment recipes — docker-compose, nginx, traefik, and common app self-hosts.
From across the StoicSoft network
Hand-curated reads on the same topic from sister sites in the StoicSoft family.
