April 5, 2026
How to Deploy Docker Apps to a VPS: The Complete Production Guide
A step-by-step guide to deploying Docker containers on a VPS. Covers SSH setup, Docker installation, running containers, Docker Compose, reverse proxy configuration, and managing production deployments.
You have a Docker app running locally and a VPS sitting idle. The gap between the two is smaller than you think. No container orchestration platform, no managed service bills, no vendor lock-in—just Docker on a Linux server you control.
This guide walks you through every step of a real Docker production deployment: connecting to your VPS over SSH, installing Docker, running your first container, composing multi-service apps, setting up a reverse proxy with automatic SSL, and managing deployments over time. Whether you are shipping a Node.js API, a Python web app, or a full-stack project, the workflow is the same.
Prerequisites
Before you deploy Docker apps to your VPS, make sure you have:
- A VPS from any provider (DigitalOcean, Hetzner, Linode, Vultr, or others) running Ubuntu 22.04 or later
- A domain name pointed at your server's IP address (for SSL)
- A terminal on your local machine (macOS Terminal, Windows PowerShell, or a Linux shell)
- Your application with a working
Dockerfile
Most VPS providers give you a server with root SSH access in under a minute. A $5–$10/month plan with 1–2 GB RAM is enough to run several Docker containers in production.
Step 1: Connect to Your VPS via SSH
Every Docker VPS hosting workflow starts with SSH. When your provider creates the server, you get an IP address and either a root password or an SSH key. Connect from your terminal:
ssh root@your-server-ip
If you used a password during setup, you will be prompted to enter it. For key-based authentication (recommended for production), add your public key to the server:
# On your local machine, copy your public key to the server
ssh-copy-id root@your-server-ip
Secure Your SSH Access
For any Docker production deployment, locking down SSH is non-negotiable. Create a non-root user and disable password authentication:
# Create a deploy user
adduser deploy
usermod -aG sudo deploy

# Copy your SSH key to the new user
rsync --archive --chown=deploy:deploy ~/.ssh /home/deploy

# Disable password authentication
sudo sed -i 's/#PasswordAuthentication yes/PasswordAuthentication no/' /etc/ssh/sshd_config
sudo systemctl restart sshd
From now on, connect as your deploy user: ssh deploy@your-server-ip. This keeps your server secure while still giving you full access to manage Docker containers.
If you prefer a visual approach, Server Compass lets you connect to your VPS without memorizing SSH commands. Enter your server IP and credentials in the GUI, and you are connected.
Step 2: Install Docker on Your VPS
Docker is the engine that runs your containers. Install Docker Engine and Docker Compose on Ubuntu with the official repository:
# Update packages and install prerequisites
sudo apt update
sudo apt install -y ca-certificates curl gnupg

# Add Docker's official GPG key
sudo install -m 0755 -d /etc/apt/keyrings
curl -fsSL https://download.docker.com/linux/ubuntu/gpg | sudo gpg --dearmor -o /etc/apt/keyrings/docker.gpg
sudo chmod a+r /etc/apt/keyrings/docker.gpg

# Add the Docker repository
echo \\
  "deb [arch=$(dpkg --print-architecture) signed-by=/etc/apt/keyrings/docker.gpg] https://download.docker.com/linux/ubuntu \\
  $(. /etc/os-release && echo "$VERSION_CODENAME") stable" | \\
  sudo tee /etc/apt/sources.list.d/docker.list > /dev/null

# Install Docker Engine and Compose plugin
sudo apt update
sudo apt install -y docker-ce docker-ce-cli containerd.io docker-compose-plugin

# Add your user to the docker group (avoids needing sudo)
sudo usermod -aG docker $USER
Log out and back in for the group change to take effect, then verify:
docker --version
docker compose version
You should see Docker Engine 24+ and Compose v2+. Your VPS is now ready for Docker VPS hosting.
Step 3: Run Your First Docker Container
With Docker installed, deploy a container to confirm everything works. Start with a simple Nginx web server:
docker run -d --name my-nginx -p 80:80 nginx:alpine
Visit http://your-server-ip in a browser. You should see the Nginx welcome page. That single command pulled the image, created a container, and bound it to port 80.
To deploy your own application, push your code to the server, build the Docker image, and run it:
# Clone your repo on the server
git clone https://github.com/your-username/your-app.git
cd your-app

# Build the Docker image
docker build -t my-app:latest .

# Run the container
docker run -d \\
  --name my-app \\
  -p 3000:3000 \\
  --restart unless-stopped \\
  my-app:latest
The --restart unless-stopped flag ensures Docker restarts your container automatically after a server reboot or a crash. This is essential for any production deployment.
Step 4: Use Docker Compose for Multi-Service Apps
Most real applications need more than one container. A web app typically needs an application server, a database, and possibly a cache. Docker Compose lets you define all services in a single docker-compose.yml file:
version: "3.8"

services:
  app:
    build: .
    ports:
      - "3000:3000"
    environment:
      - DATABASE_URL=postgres://app:secret@db:5432/myapp
      - REDIS_URL=redis://cache:6379
    depends_on:
      - db
      - cache
    restart: unless-stopped

  db:
    image: postgres:16-alpine
    volumes:
      - pgdata:/var/lib/postgresql/data
    environment:
      - POSTGRES_USER=app
      - POSTGRES_PASSWORD=secret
      - POSTGRES_DB=myapp
    restart: unless-stopped

  cache:
    image: redis:7-alpine
    restart: unless-stopped

volumes:
  pgdata:
Deploy everything with a single command:
docker compose up -d
Docker Compose handles networking between containers automatically. Your app reaches the database at db:5432 and Redis at cache:6379—no IP addresses or host networking required.
For more on composing multi-container stacks, see our guide on deploying Docker containers to a VPS without Kubernetes.
Step 5: Set Up a Reverse Proxy with SSL
Running Docker containers on raw ports is fine for testing, but production apps need HTTPS. A reverse proxy like Nginx, Caddy, or Traefik sits in front of your containers, terminates SSL, and routes traffic by domain name.
Traefik is particularly well suited for Docker VPS hosting because it auto-discovers containers and provisions Let's Encrypt certificates. Add it to your Compose file:
{`services:
  traefik:
    image: traefik:v3
    command:
      - "--providers.docker=true"
      - "--providers.docker.exposedbydefault=false"
      - "--entrypoints.web.address=:80"
      - "--entrypoints.websecure.address=:443"
      - "--certificatesresolvers.letsencrypt.acme.httpchallenge.entrypoint=web"
      - "[email protected]"
      - "--certificatesresolvers.letsencrypt.acme.storage=/letsencrypt/acme.json"
    ports:
      - "80:80"
      - "443:443"
    volumes:
      - /var/run/docker.sock:/var/run/docker.sock:ro
      - letsencrypt:/letsencrypt
    restart: unless-stopped

  app:
    build: .
    labels:
      - "traefik.enable=true"
      - "traefik.http.routers.app.rule=Host(\`app.yourdomain.com\`)"
      - "traefik.http.routers.app.entrypoints=websecure"
      - "traefik.http.routers.app.tls.certresolver=letsencrypt"
    restart: unless-stopped

volumes:
  letsencrypt:`}
With this setup, Traefik automatically requests and renews SSL certificates for every domain you add. For a deeper dive into zero-downtime deployments behind Traefik, check out our zero-downtime deployment guide.
Step 6: Manage Environment Variables and Secrets
Never hardcode secrets in your Docker images. Use environment variables with a .env file:
# .env
DATABASE_URL=postgres://app:strongpassword@db:5432/myapp
REDIS_URL=redis://cache:6379
SECRET_KEY=your-random-secret-key
NODE_ENV=production
Reference it in your Compose file with env_file: .env or individual environment entries. Keep .env out of version control by adding it to .gitignore.
Managing environment variables across multiple apps on a VPS gets tedious fast. Server Compass includes a dedicated environment variables editor that lets you add, edit, and revoke secrets through a visual interface—no SSH session or text editor required.
Step 7: Build a Repeatable Deployment Workflow
A manual git pull && docker compose up -d works for side projects, but production Docker deployments need a repeatable process. Here is a basic deployment script:
#!/bin/bash
set -e

# Pull latest code
cd /opt/my-app
git pull origin main

# Build and deploy with zero downtime
docker compose build --no-cache
docker compose up -d --remove-orphans

# Clean up old images
docker image prune -f

echo "Deployment complete"
For teams, automate this with GitHub Actions deploying to your VPS via SSH. Push to main, and your CI pipeline builds, tests, and deploys automatically.
Handle Rollbacks
Tag every Docker image with a version or commit hash so you can roll back quickly:
# Tag with git commit hash
docker build -t my-app:$(git rev-parse --short HEAD) .
docker tag my-app:$(git rev-parse --short HEAD) my-app:latest

# Roll back to a previous version
docker compose down
docker tag my-app:abc1234 my-app:latest
docker compose up -d
Step 8: Monitor Containers and View Logs
Once your Docker apps are deployed to your VPS, you need visibility into what is running. Docker provides built-in tools for this:
# List running containers
docker ps

# View logs for a specific container
docker logs -f my-app

# Check resource usage
docker stats
For production, consider deploying a monitoring stack. Uptime Kuma monitors HTTP endpoints, Grafana visualizes metrics, and Portainer gives you a web UI for container management.
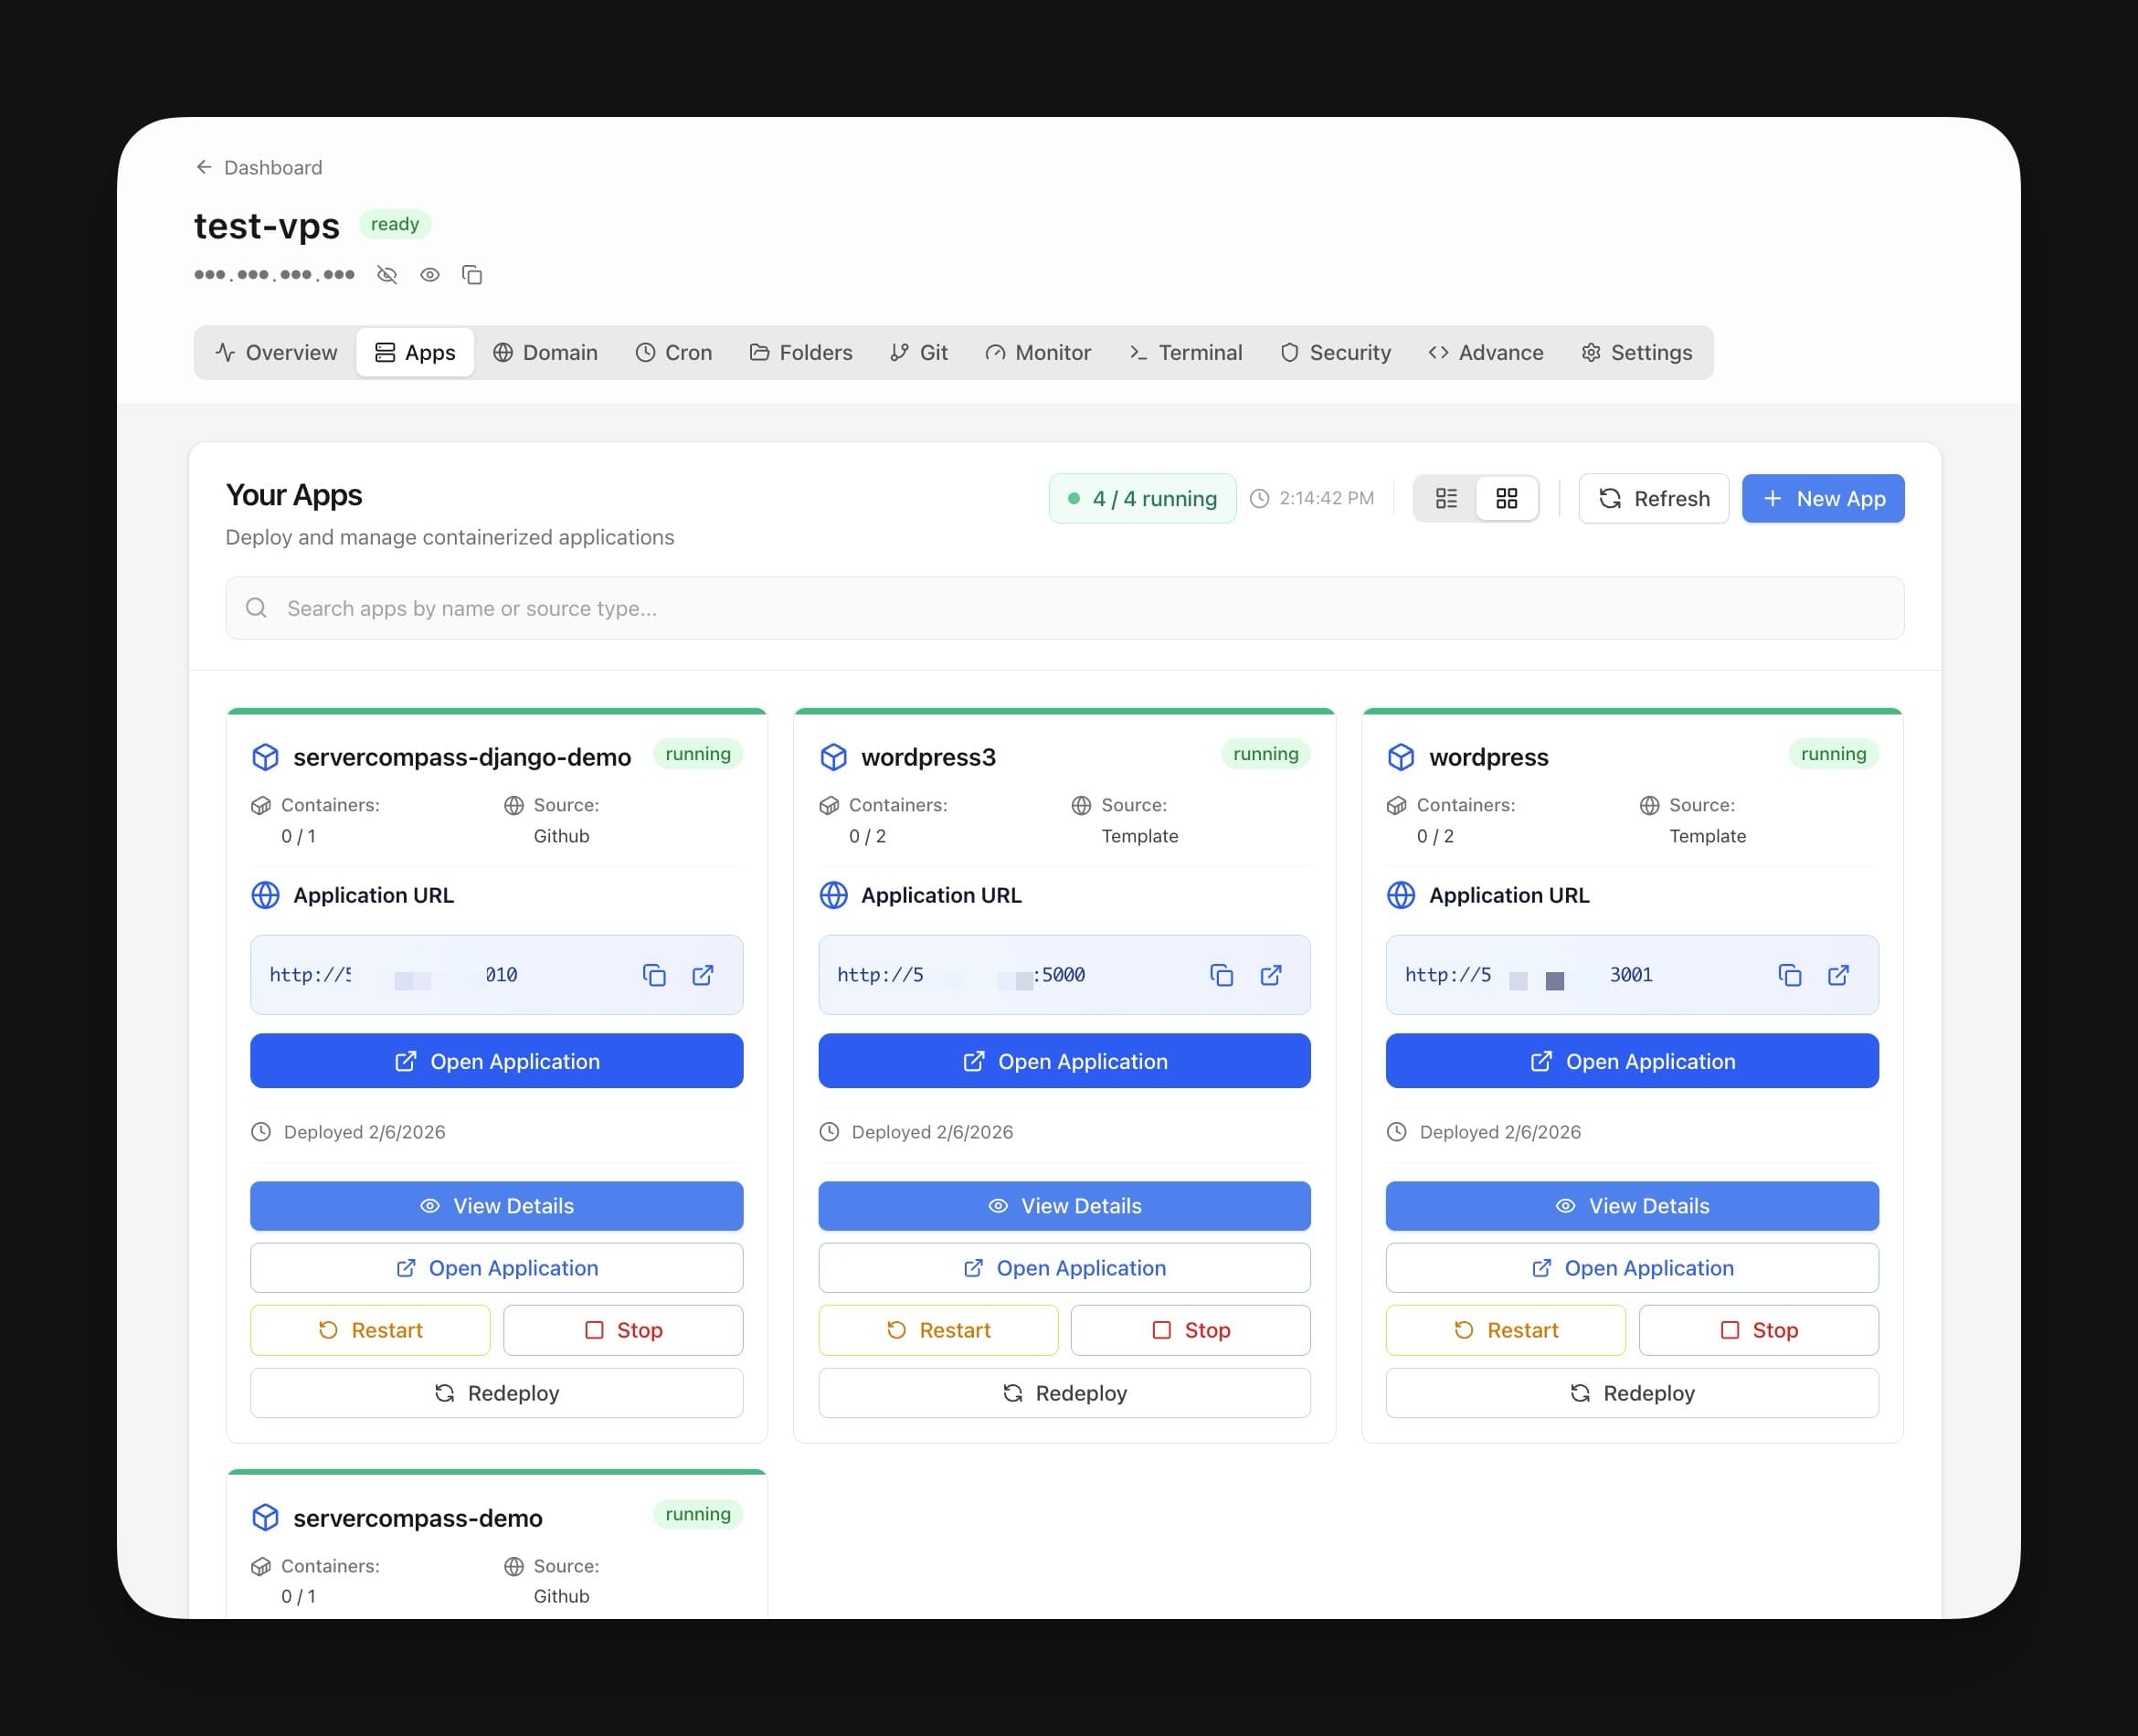
Server Compass bundles container health monitoring, live log streaming, and resource monitoring into a single desktop app. You see every container's status, uptime, and resource usage without SSHing into the server.
Step 9: Handle Persistent Data
Docker containers are ephemeral—when you remove one, its data disappears. Use named volumes for anything that needs to persist:
volumes:
  pgdata:
    driver: local
  uploads:
    driver: local
Map them in your service definitions: volumes: - pgdata:/var/lib/postgresql/data. Back up volumes regularly with docker run --rm -v pgdata:/data -v $(pwd):/backup alpine tar czf /backup/pgdata.tar.gz /data.
For automated backups, Server Compass offers encrypted cloud backups to S3-compatible storage and full server snapshots that capture your entire Docker setup in a single file.
Docker Production Deployment Checklist
Before you consider your Docker VPS hosting setup production-ready, run through this checklist:
Item
Why It Matters
SSH key authentication
Prevents brute-force password attacks
Firewall (UFW)
Only expose ports 22, 80, and 443
Non-root Docker user
Limits blast radius of container escapes
Automatic container restarts
restart: unless-stopped keeps services alive
SSL certificates
Traefik + Let's Encrypt for free HTTPS
Named volumes
Prevent data loss across container updates
Environment variables
Secrets stay out of images and repos
Log rotation
Docker JSON logs can fill disk without limits
Automated backups
Volumes and database dumps on a schedule
Monitoring
Know when containers crash before users do
Server Compass handles most of this checklist automatically. When you deploy through the Docker Stack Wizard, it configures Traefik, provisions SSL, sets up restart policies, and manages environment variables—all from a visual UI.
Skip the Manual Work with Server Compass
The steps above work, but they involve a lot of terminal sessions, YAML editing, and manual server administration. Every new app means repeating the same setup: Compose file, Traefik labels, environment variables, domain config.
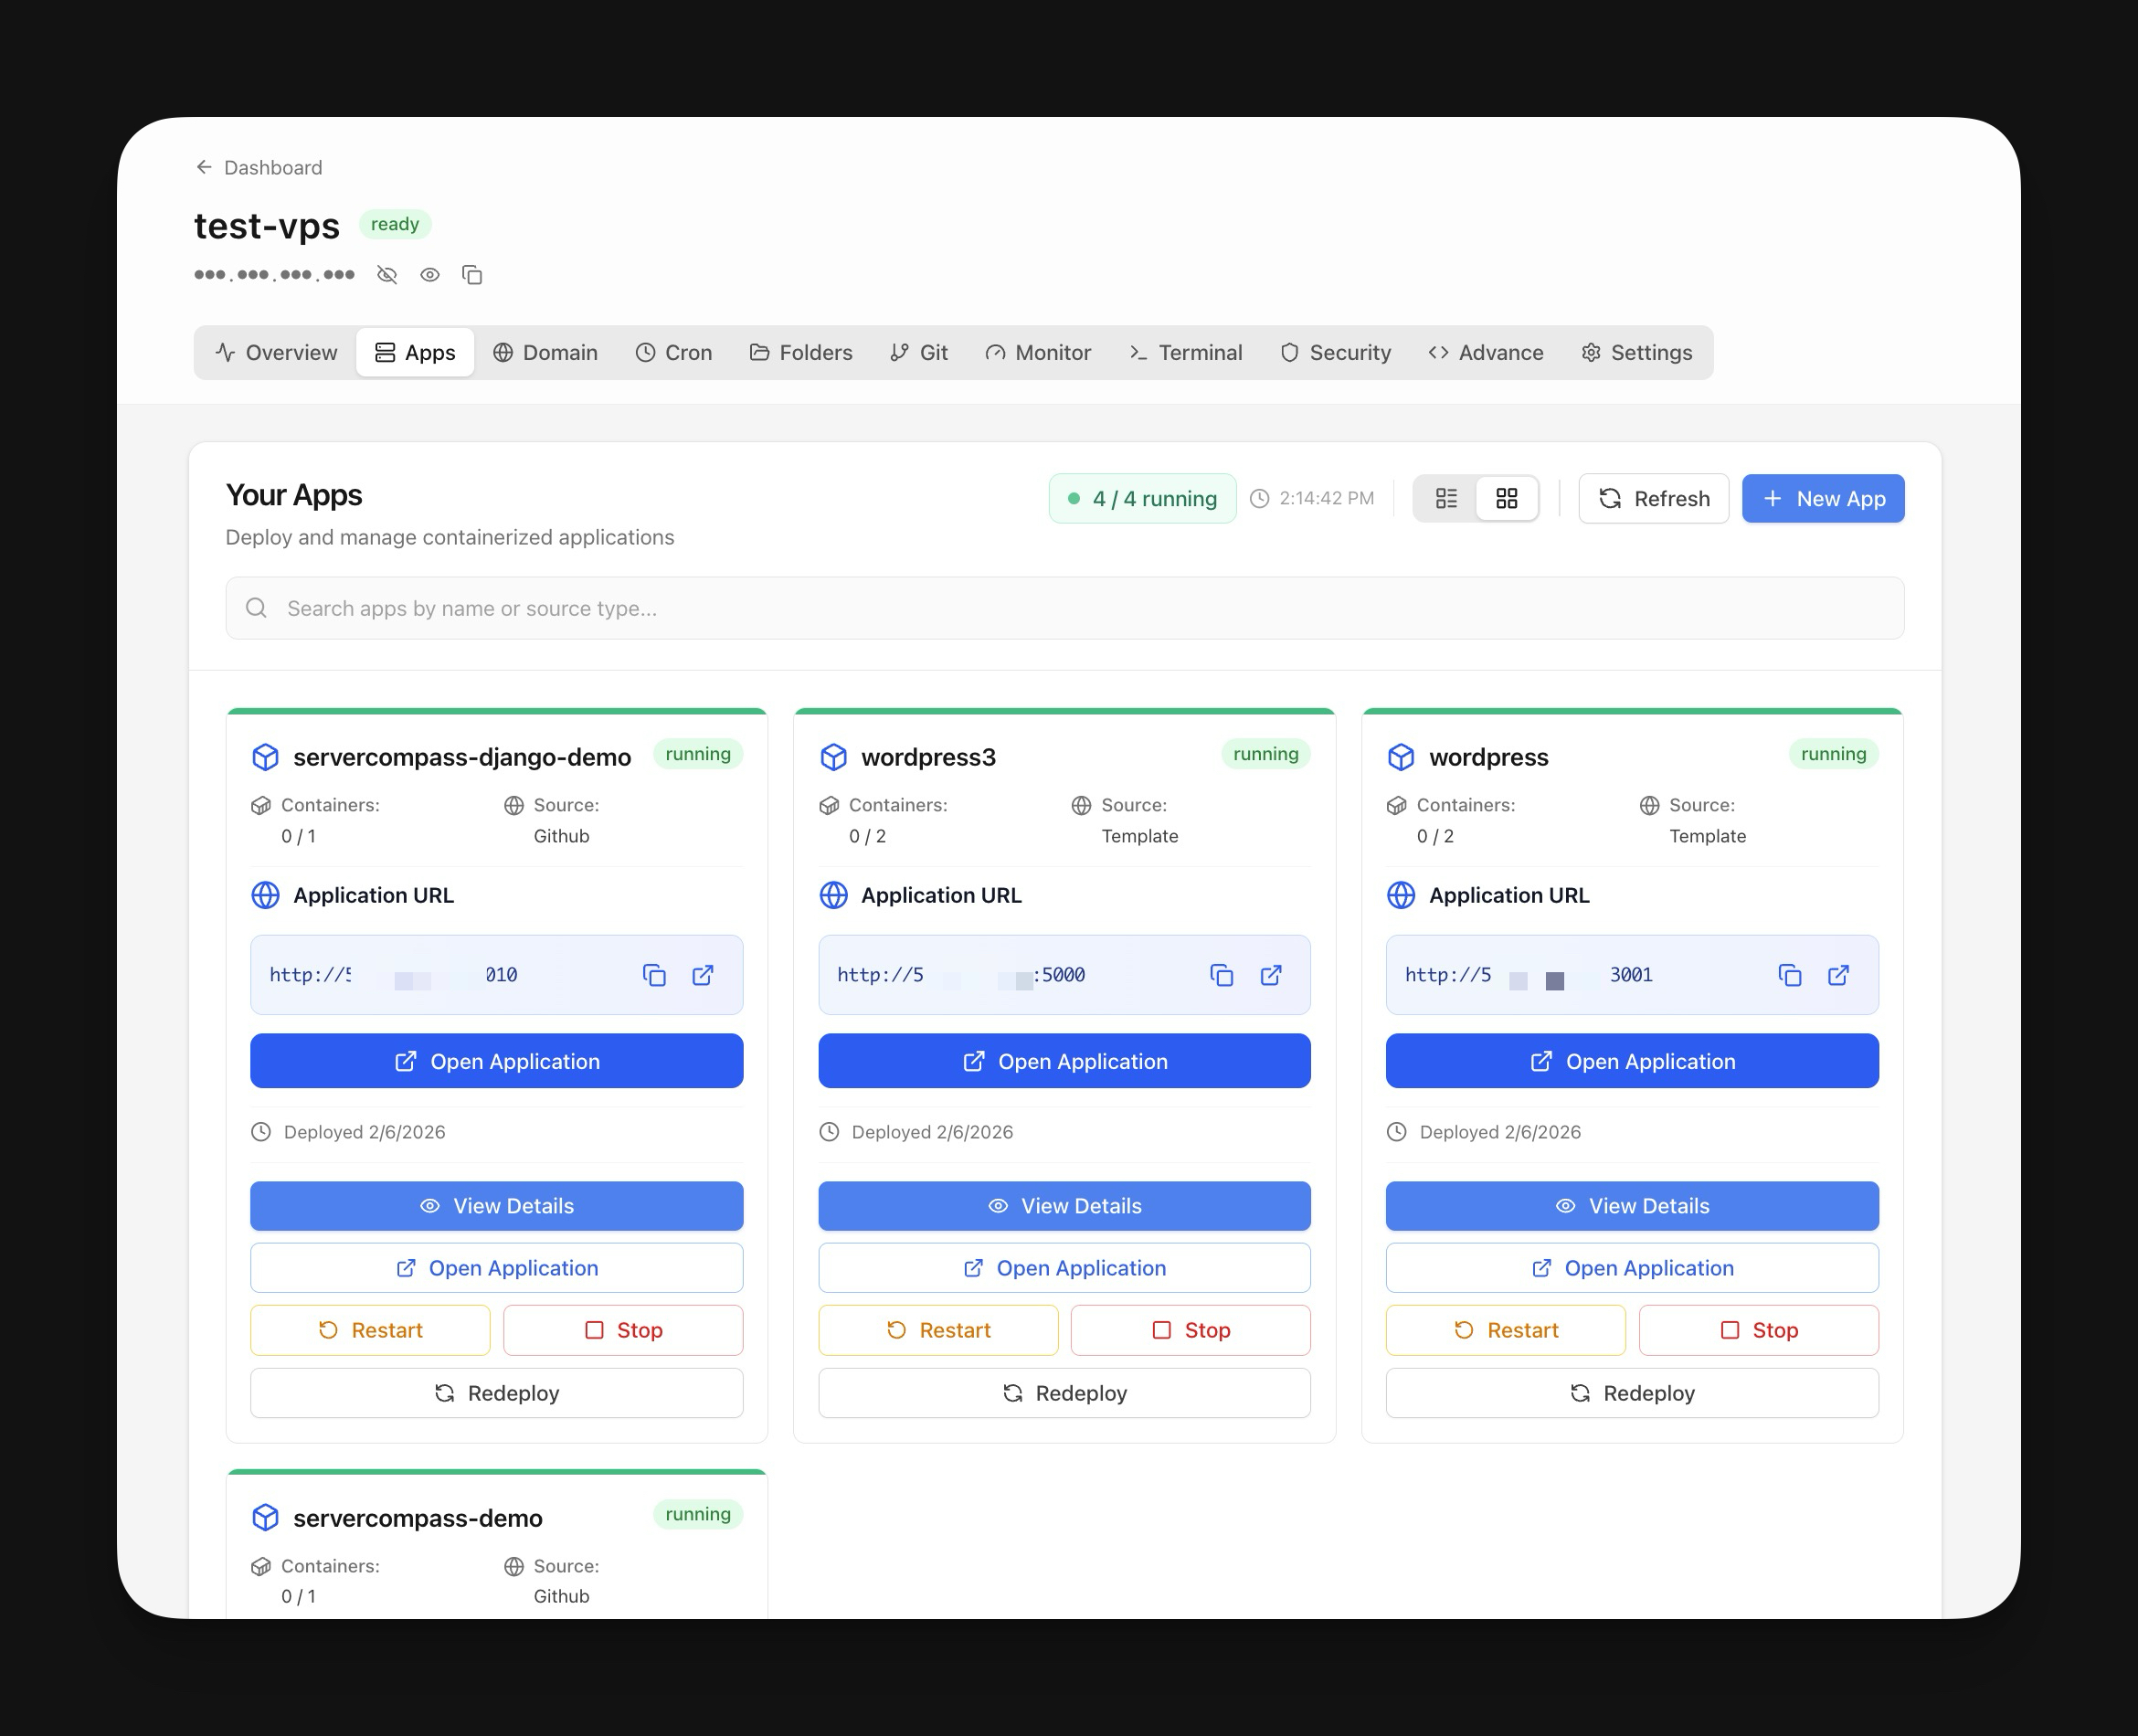
Server Compass is a desktop app that replaces this entire manual workflow with a visual interface. Connect your VPS, pick a deployment template or point it at your GitHub repo, configure your environment variables, and deploy. Docker installation, Traefik configuration, SSL certificates, and container management all happen behind the scenes.
What takes 30 minutes of terminal work takes about 2 minutes in Server Compass. You still own your VPS, you still run standard Docker containers, and you can SSH in anytime to inspect things manually. The difference is you do not have to.
Whether you deploy Docker apps to a VPS the manual way or use a tool to simplify the process, the fundamentals are the same: SSH access, Docker Engine, Compose for multi-service apps, and a reverse proxy for SSL. Master these building blocks and you can host anything on any VPS provider—no platform lock-in, no surprise bills, just containers on a server you control.
Ready to simplify your Docker VPS hosting? Try Server Compass and deploy your first app in minutes, or explore our template gallery with 200+ one-click Docker deployments.
Related in the StoicSoft network
If you're choosing a VPS provider or benchmarking real-world performance like the post above explores, StoicVPS is the StoicSoft network's independent tracker for VPS pricing, performance, and migration safety.
If you're self-hosting on a VPS or working through a deployment guide like the one above, DeployToVPS is the StoicSoft network's handbook for VPS deployment recipes — docker-compose, nginx, traefik, and common app self-hosts.
From across the StoicSoft network
Hand-curated reads on the same topic from sister sites in the StoicSoft family.
 1DevTool11 min read
Self-Hosted AI Coding Assistant Workflow: Practical Setup Guide
A self-hosted AI coding workflow needs more than model hosting. You need environment control, connector governance, and reproducible operations. This guide covers the practical stack.
Read on 1devtool.com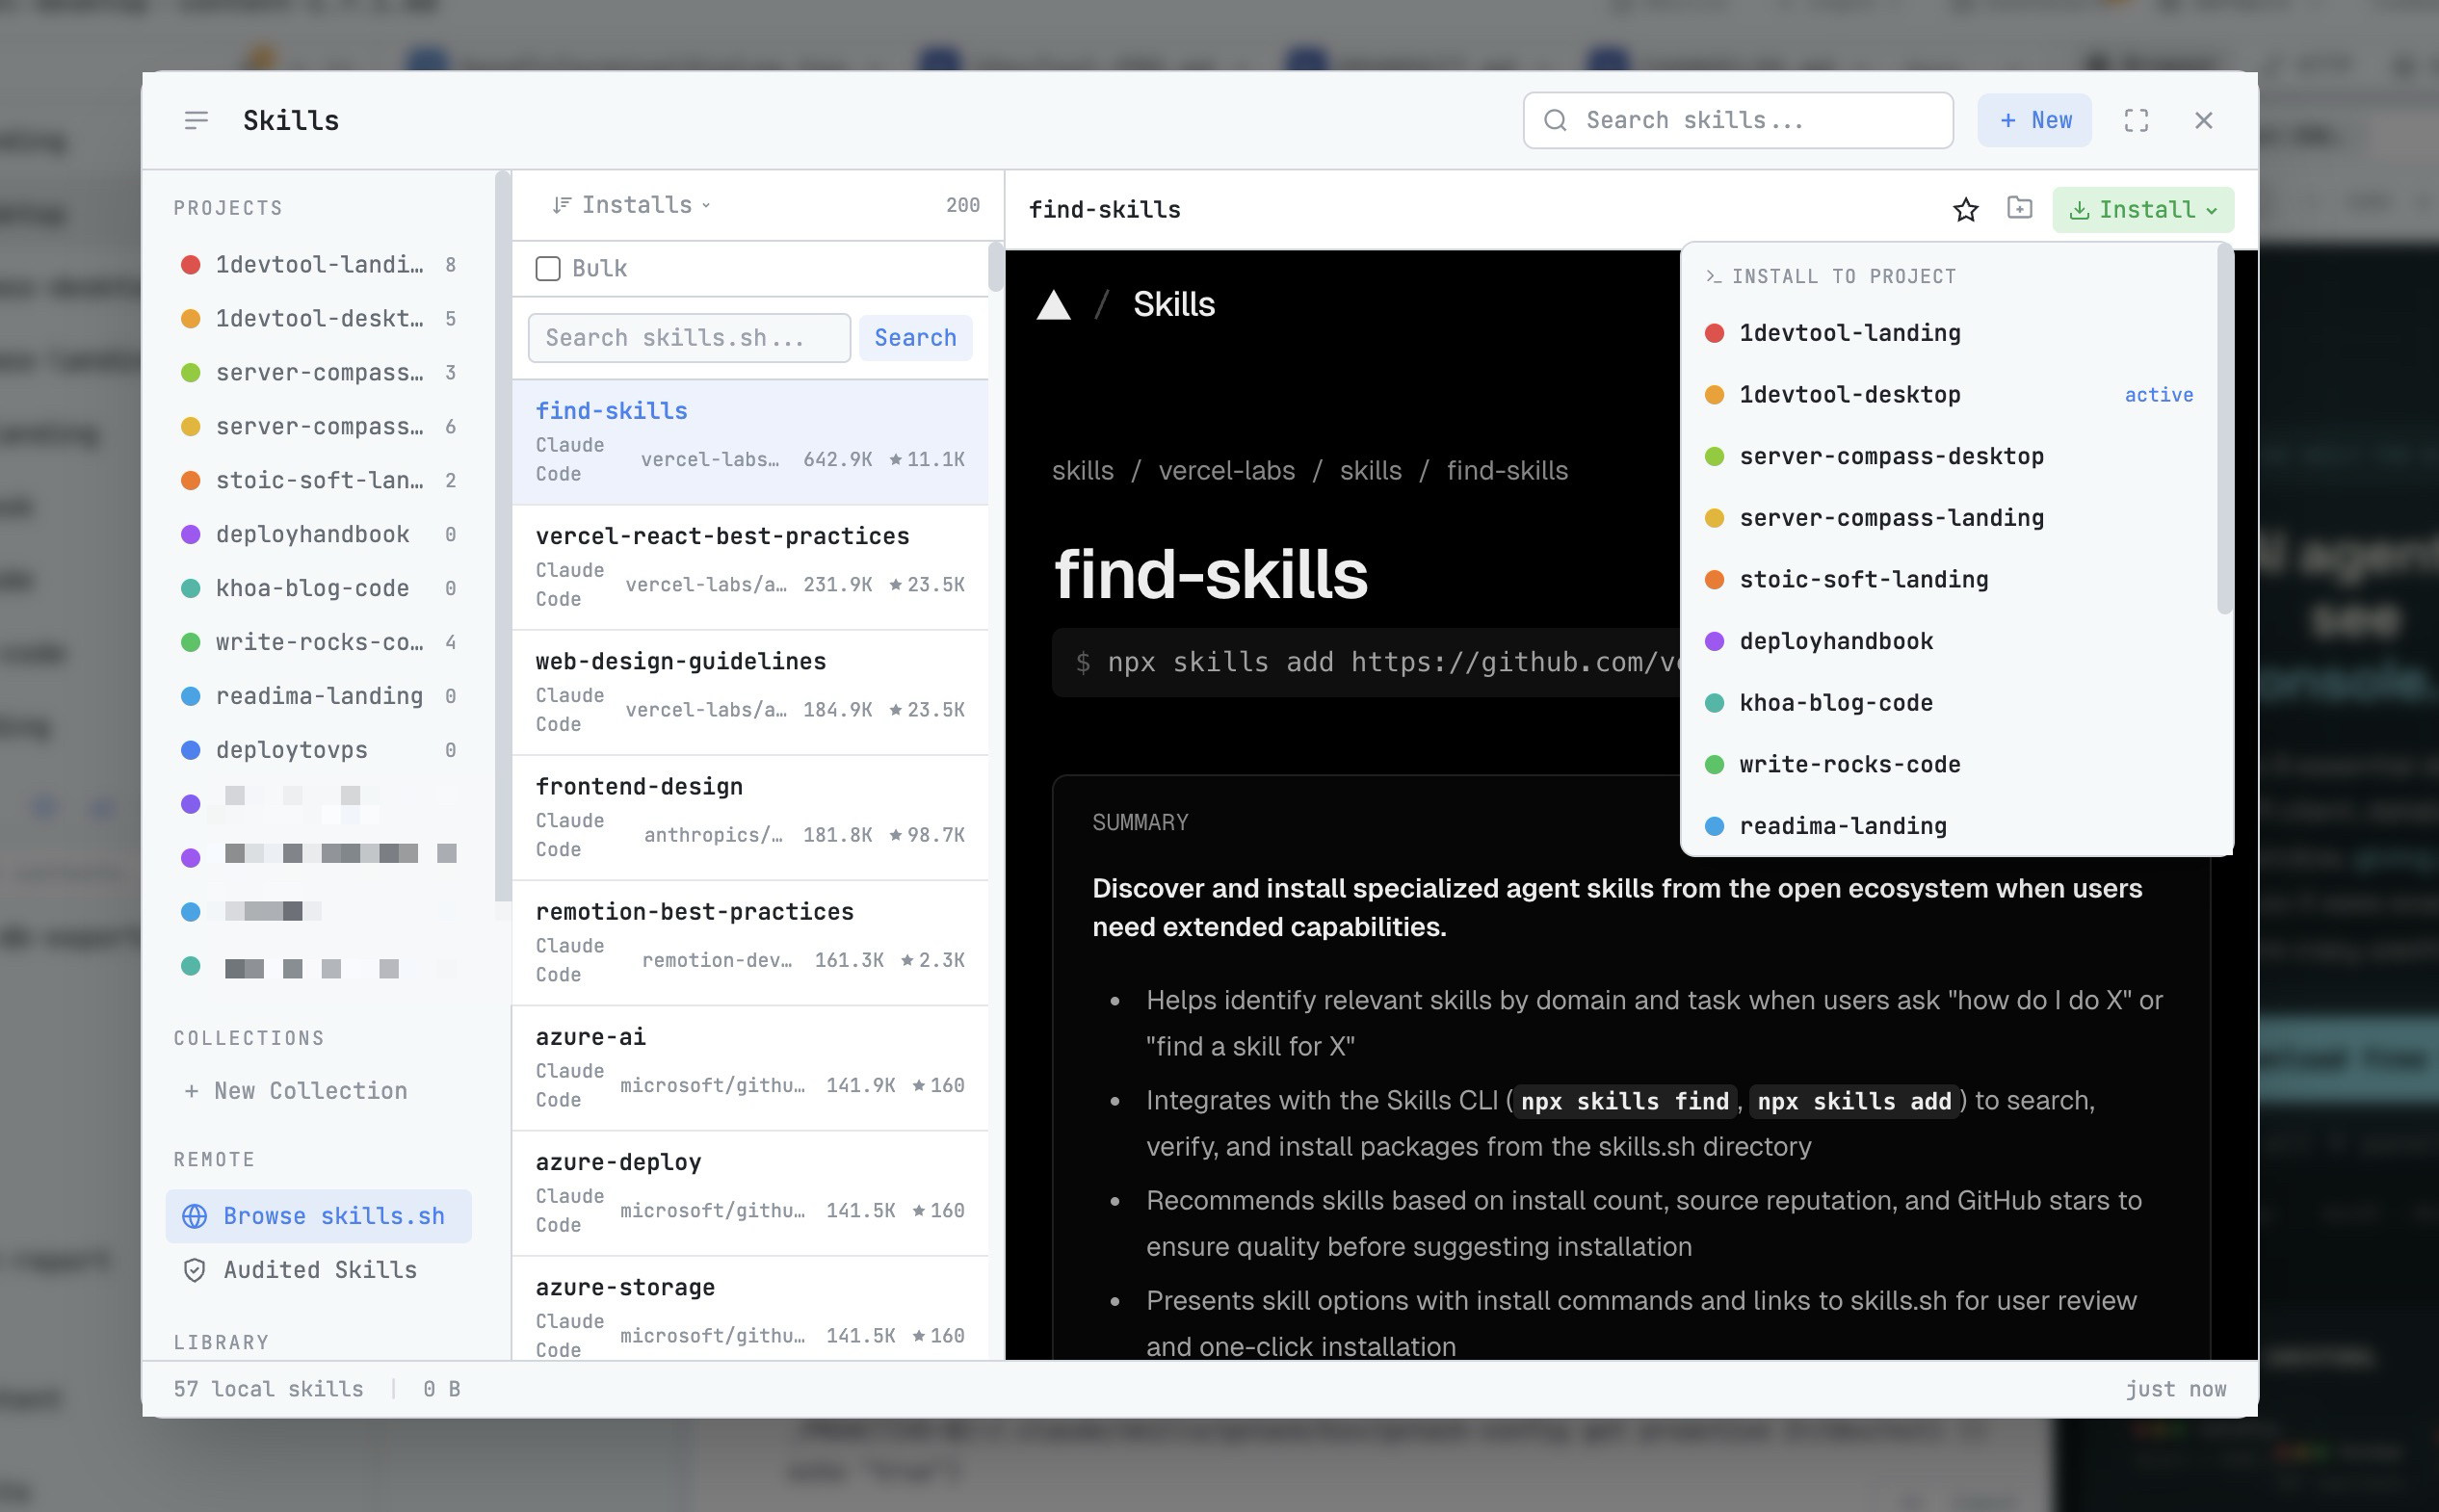 1DevTool8 min read
AI Skills Manager & Docker Deep Dive: Extend Your Agents, Monitor Your Containers
Browse, create, and install AI agent skills with built-in security scanning. Plus a redesigned Docker manager with live CPU, memory, and network monitoring for every container.
Read on 1devtool.com